Solo, I completed the Quilotoa Loop, 3 day trek in what is known as reverse. I started in Quilotoa (without having to spend the night in Latacunga) and finished in Sigchos.
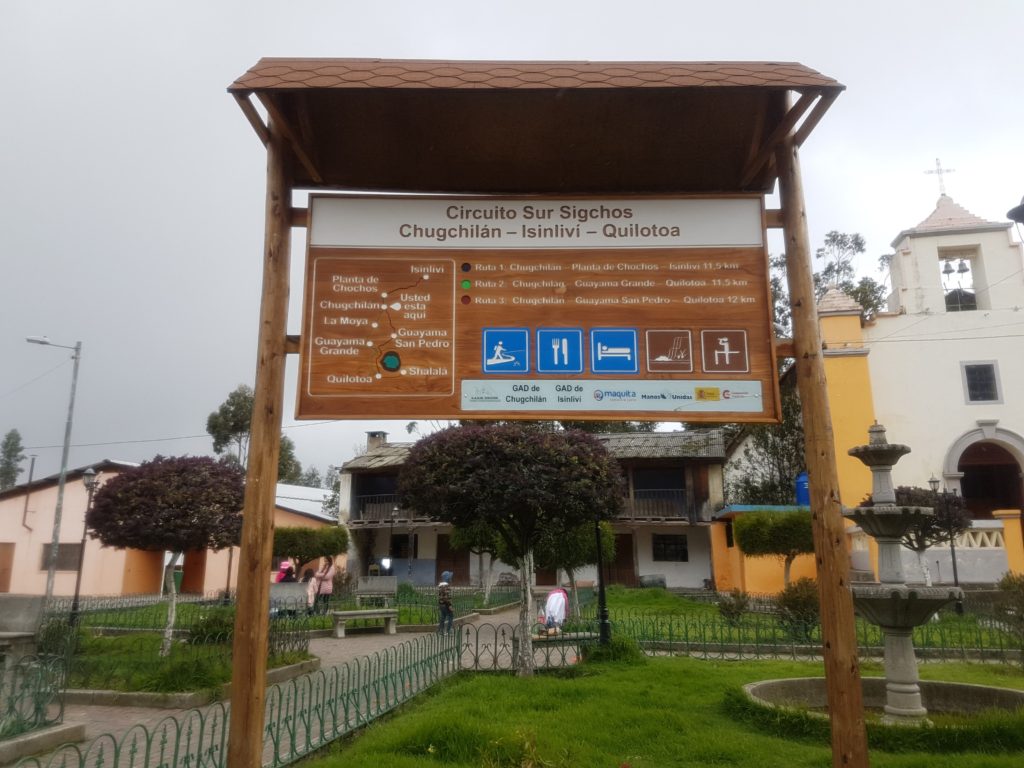
If you’re a visual person this blog serves as a visual guide to help you find your way. The photos of the signs and paths that I took throughout my trek (and the purpose of this blog) will be of benefit to you. The images and comments will keep you on the right path, when the change of direction is not obvious, and save you heading in the wrong direction.
Additionally, I used Maps.Me which I would seriously recommend you also use. Download the app and make sure you’ve downloaded the maps for the east part of Ecuador before you start the trek. Wifi is very intermittent if it’s available at all on the trek.
Offline and Visual Aids
Once you’re there the app knows all the trails related to the Quilotoa Loop and more besides. And best of all, you don’t need to be online for the app to work.
Getting From Quito to Quilotoa
Staying in Latacunga – not necessary
If you’re strapped for time don’t feel you have to stay a night in Latacunga. It’s possible to get to Quilotoa by bus from Quito and walk the 12 km’s to Chugchilan all in one day.
Here’s a helpful site for bus timetables.
I had lovely hosts at the Airbnb I stayed at in a place called Tambillo, just south of Quito. They allowed me to store my excess luggage plus dropped me at the bus stop on the Pan-American Highway at 5.15 am.
Five minutes later a bus bound for Latacunga stopped and picked me up. Tambillo is about 20 minutes from Quitumbe Bus Terminal, Quito’s southern bus station. Cost, $1.50 for just under a 1.5 hours ride.
Helpful locals
A helpful guy knowing I wanted to get off at Latacunga, got off before me but asked the bus attendant to let me know when it was my stop, which he did. Then it was a 3 minute walk in the same direction along the highway to the Latacunga bus terminal from where the bus dropped me off.
Bus Cost – Latacunga to Quilotoa
I headed to the counter with Quilotoa signage, bought a $2 ticket and boarded the bus. We left just after 7 am and I arrived in Quilotoa just after 9 am.
Morning Coffee
At this stage I was in need of my morning coffee and so I stopped in at the first hostel/coffee shop I saw as I followed the signs heading me towards the Mirador (lookout) from the main road. I got a chicken sandwich to takeaway for lunch and with the coffee it cost $4.50.
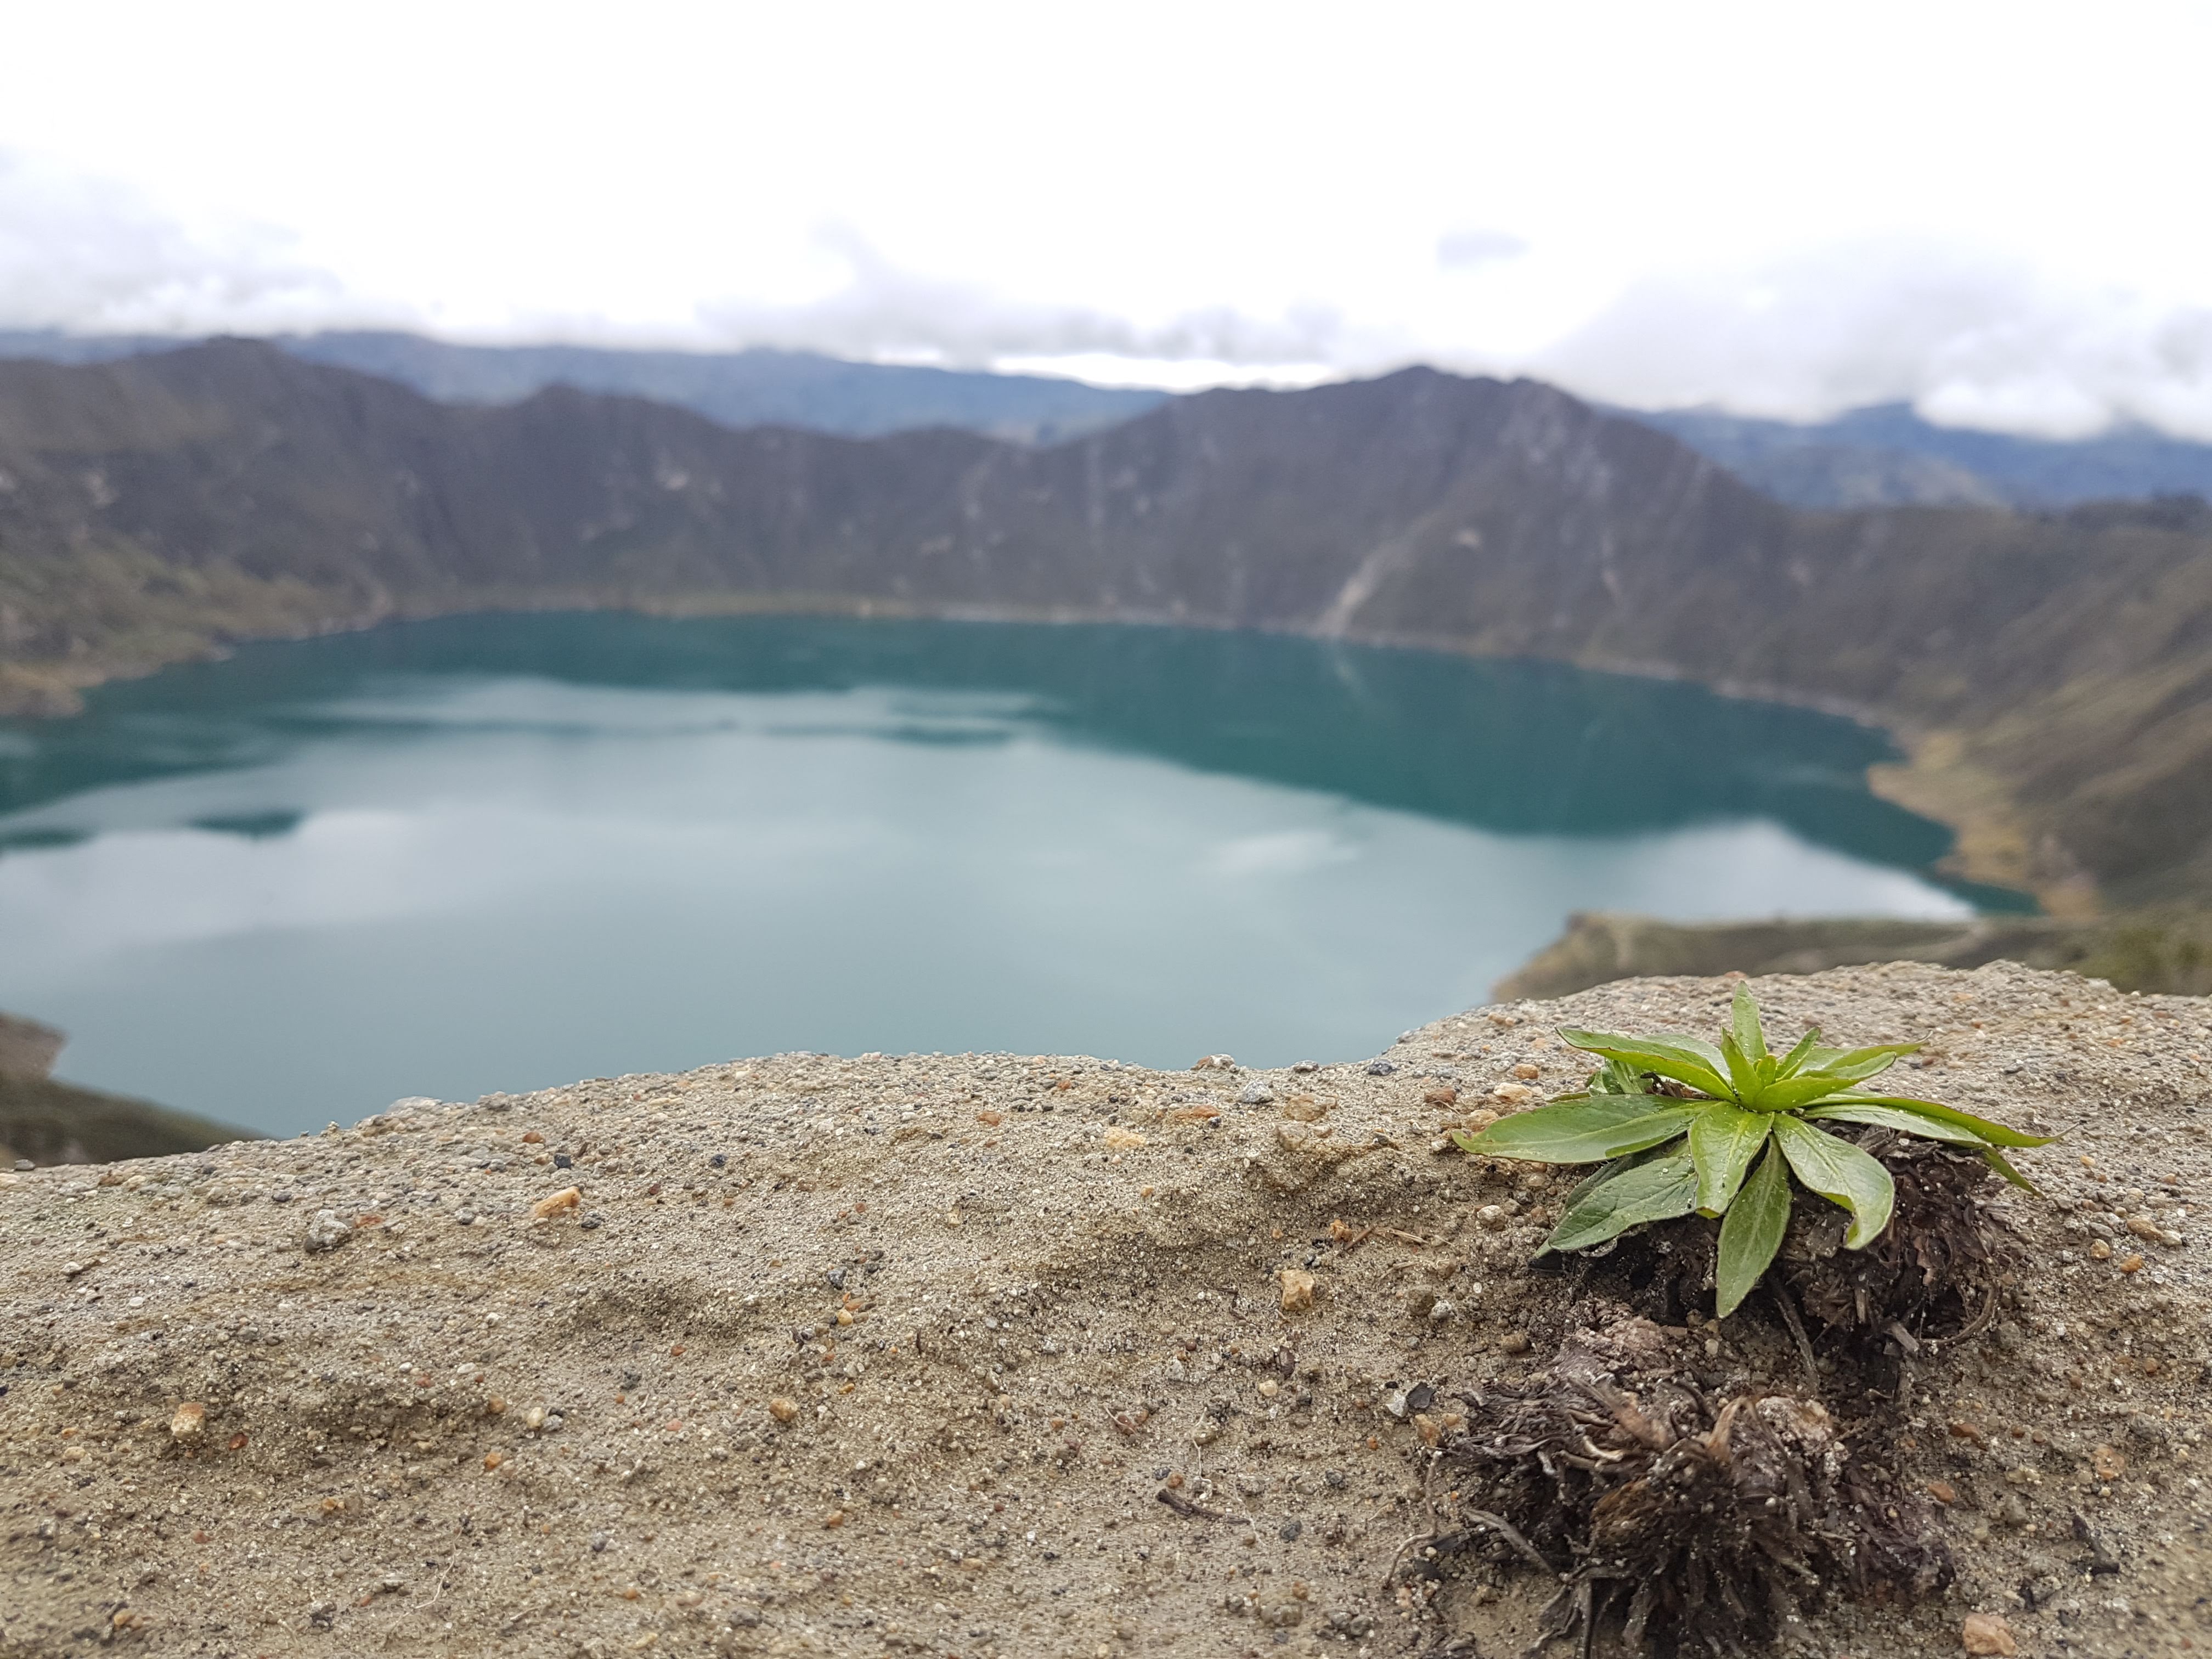
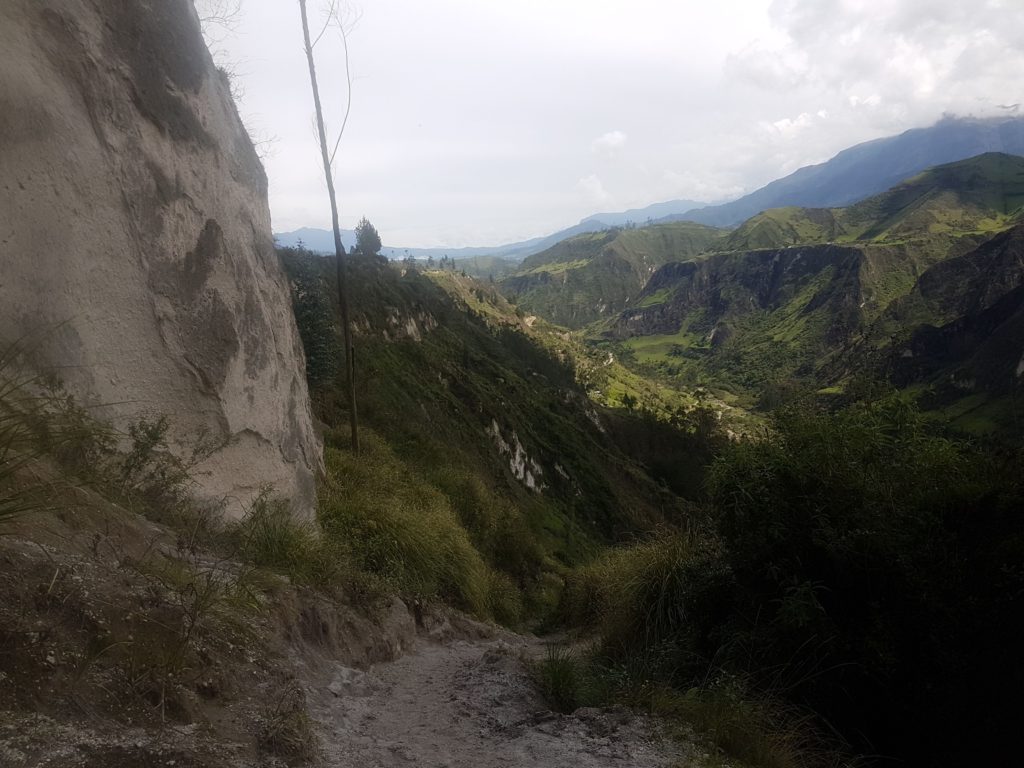
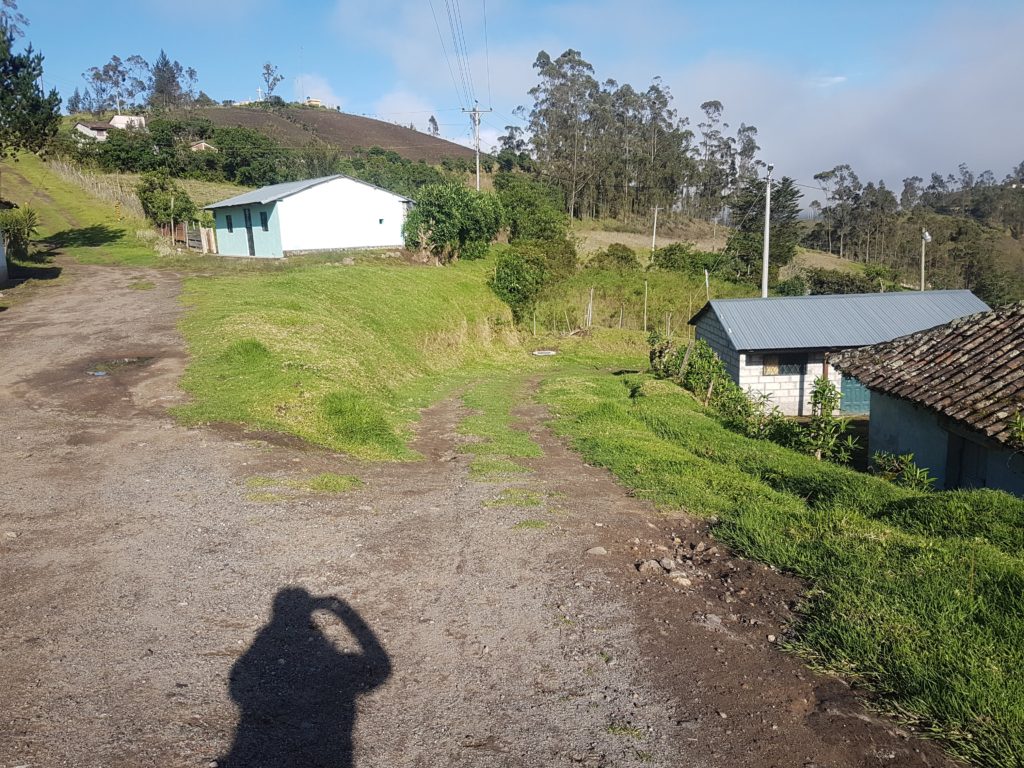
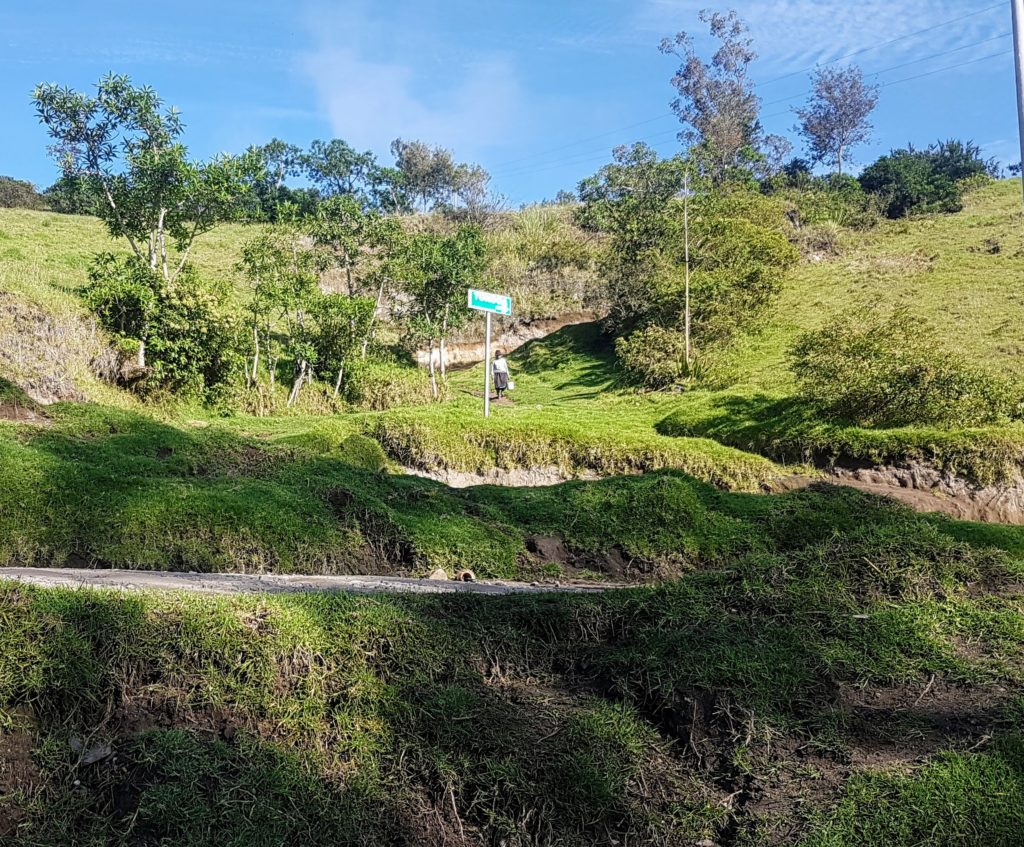
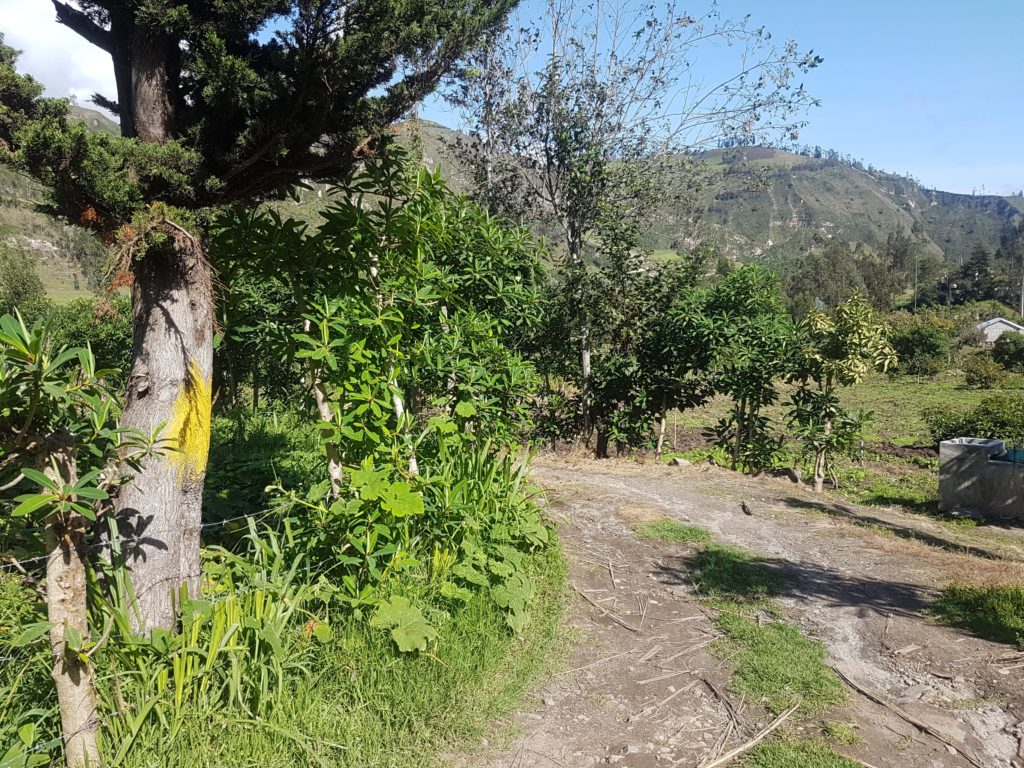
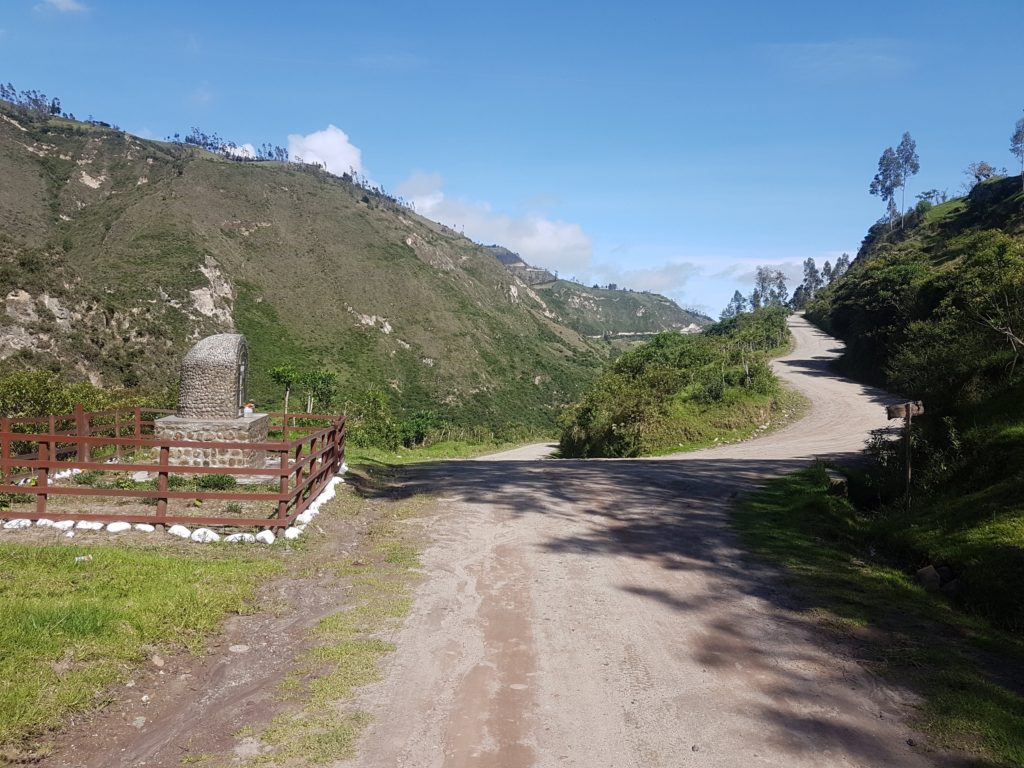
Reverse Quilotoa Loop, Quiltoa-Chugchilan, Day One
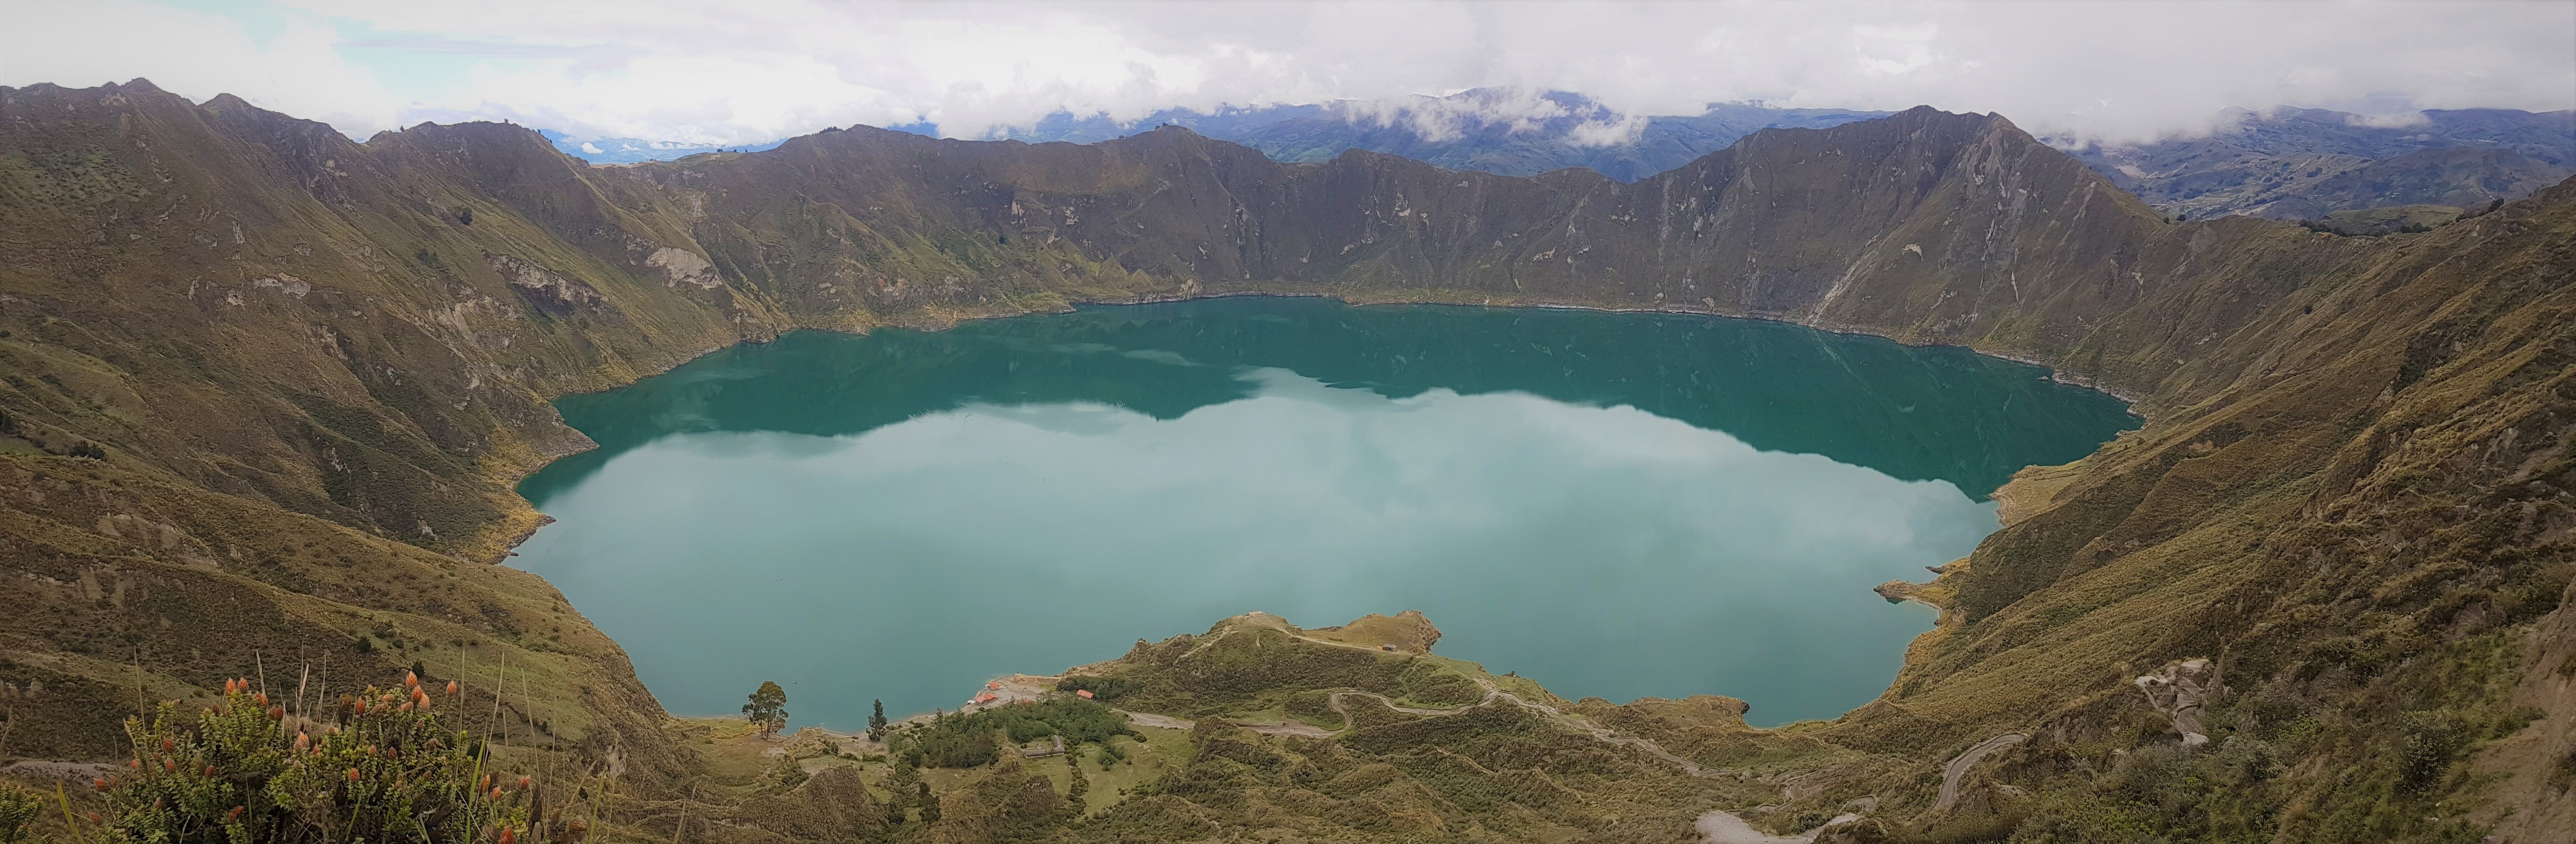
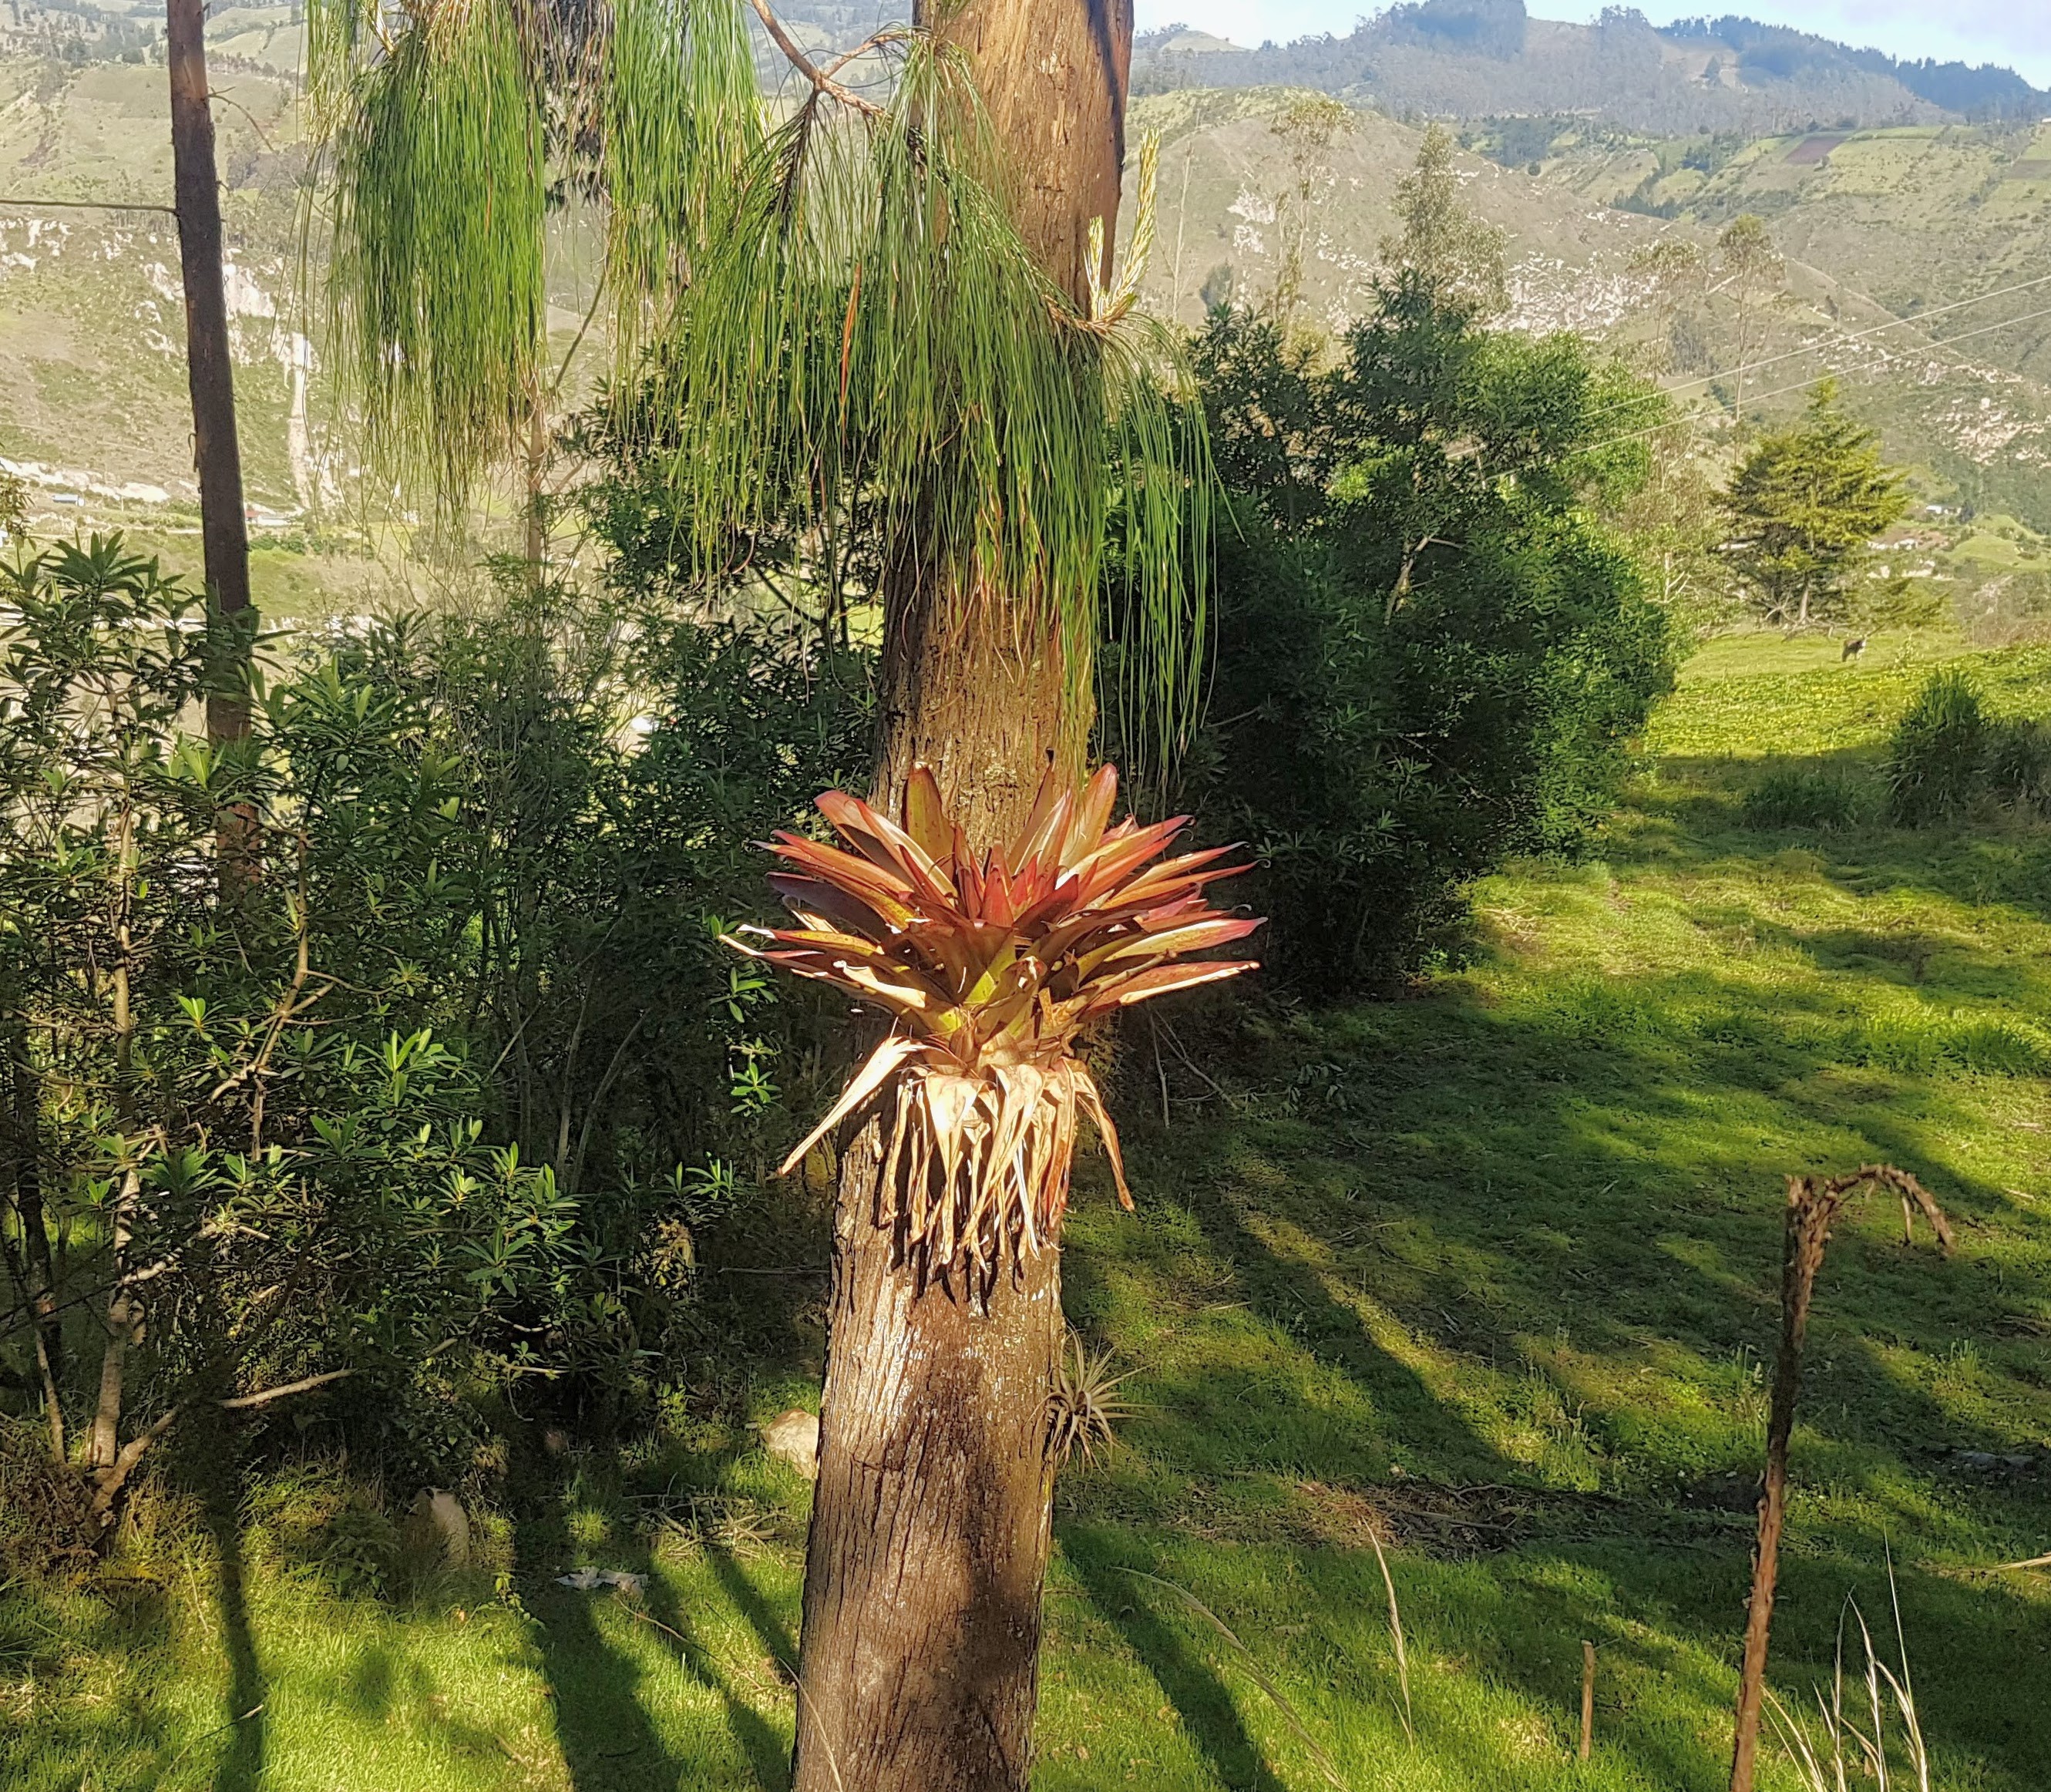
You’re beginning your trek with the most beautiful of scenes. I was mesmerized by just how stunning this laguna and its surrounding crater scenery was.
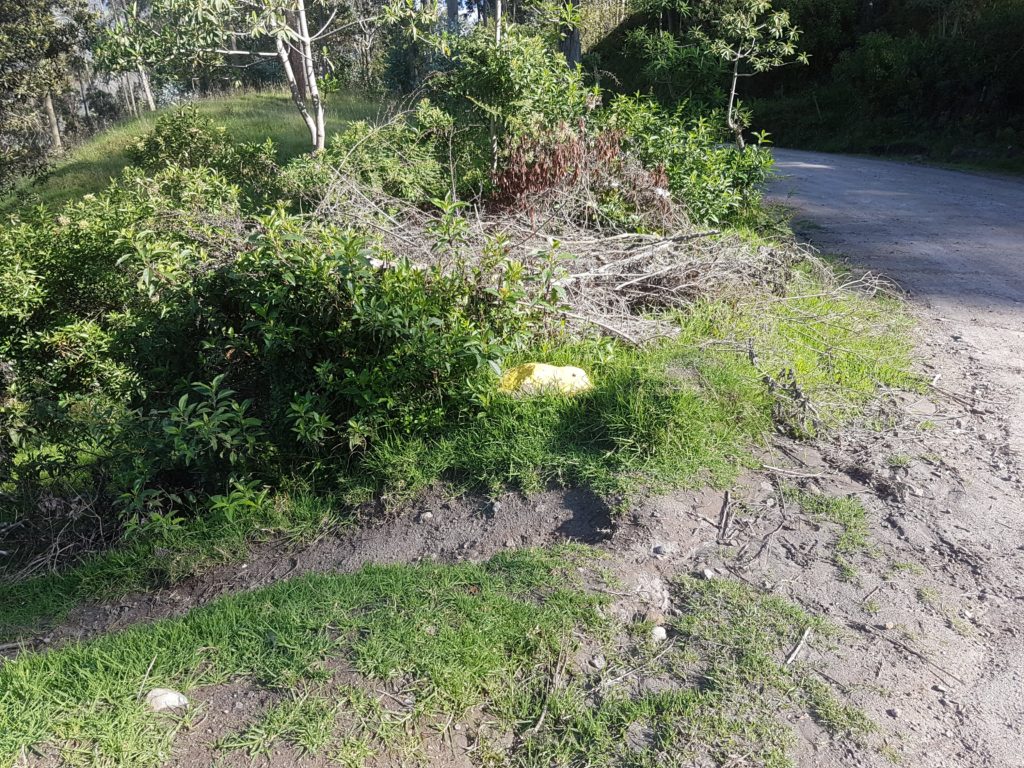
*Apologies but the first day of the trek has less helpful photos of the trail and sign posts than I hoped for, but I made up for it with the rest of the trek*
You’ve arrived
Multitudes of Photo Ops
This first part of the walk was only hard in regards to having to control myself from stopping ever 5 minutes to soak up the view.
There are a few small trails off the main one that take you to impressive viewpoints along this stretch of the hike.
Encounters
This is where I encountered the most people of any part of the 3 day trek. Mostly they were day-trippers undertaking the crater rim walk. Otherwise I had the trail pretty much to myself. The only other sounds than my footfall came from nature. Bliss!
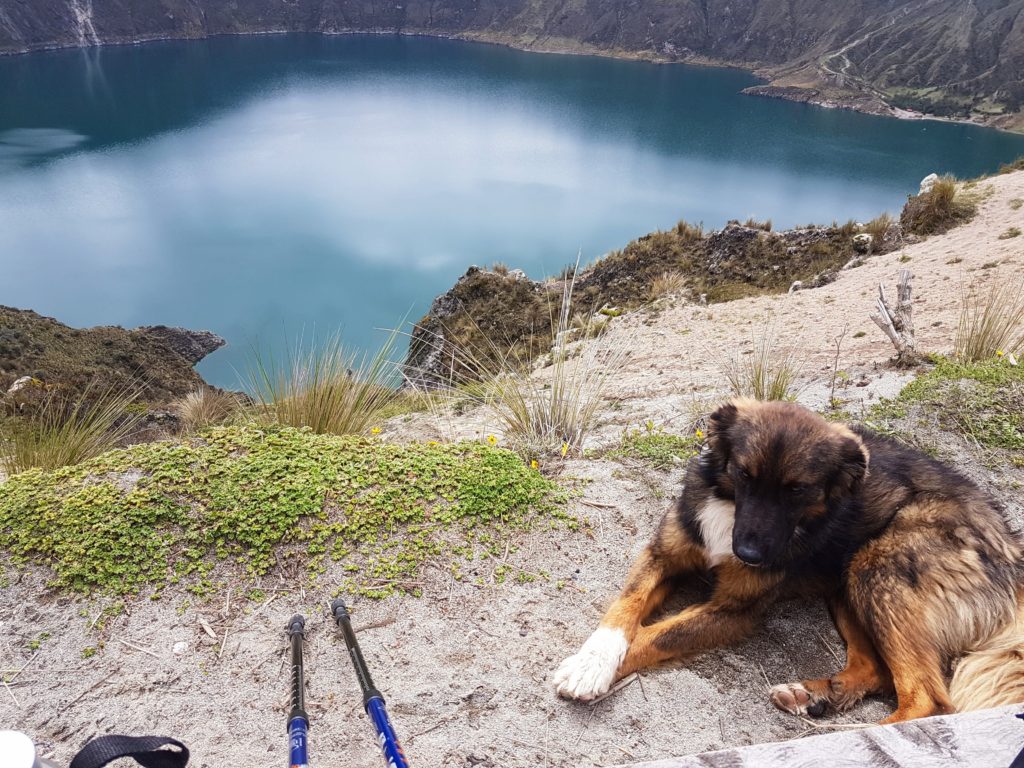
Friendly dogs
I got lucky as I only encountered friendly dogs or stationary barkers. Other trekkers I talked to had been bailed up for periods of time by either seriously threatening dogs or in one case a cow.
Stampeding horse
For me, there were horses on this first section of the trek. One being ridden by a young girl and one she was leading along the narrow path. I had to wedge myself back into the bank behind me and away from the edge of the trail in order for them to pass.
No problem, but, a few minutes later I heard the whinny of another horse at the same time as I heard the pounding of its hooves. This one was without rider or even a bridle and he was coming at a gallop. I managed to squash myself flat enough against the bank to give him room to fly past.
Well that was fun! And potentially dangerous. I could feel his energy as he raced past and envied his elated sense of freedom, once my moment of panic had abated.
Local’s Directions
I was directed in a different direction, from the one I intended to take and which was straight ahead on the path I’d been taking, by a local lady. But I ended up in the same place, the lookout with wooden seats and a basic shop. And if I hadn’t taken her directions I would have missed out on the stampeding horse experience.
Dog shows me the way
One of the two friendly dogs I met at the this look out showed me the way down this bigger shingle road until I stopped to chat to a couple of trekkers coming from the other direction.
The dog must have felt his chances of getting some food were higher with them though as he deserted me and led them back up the hill.
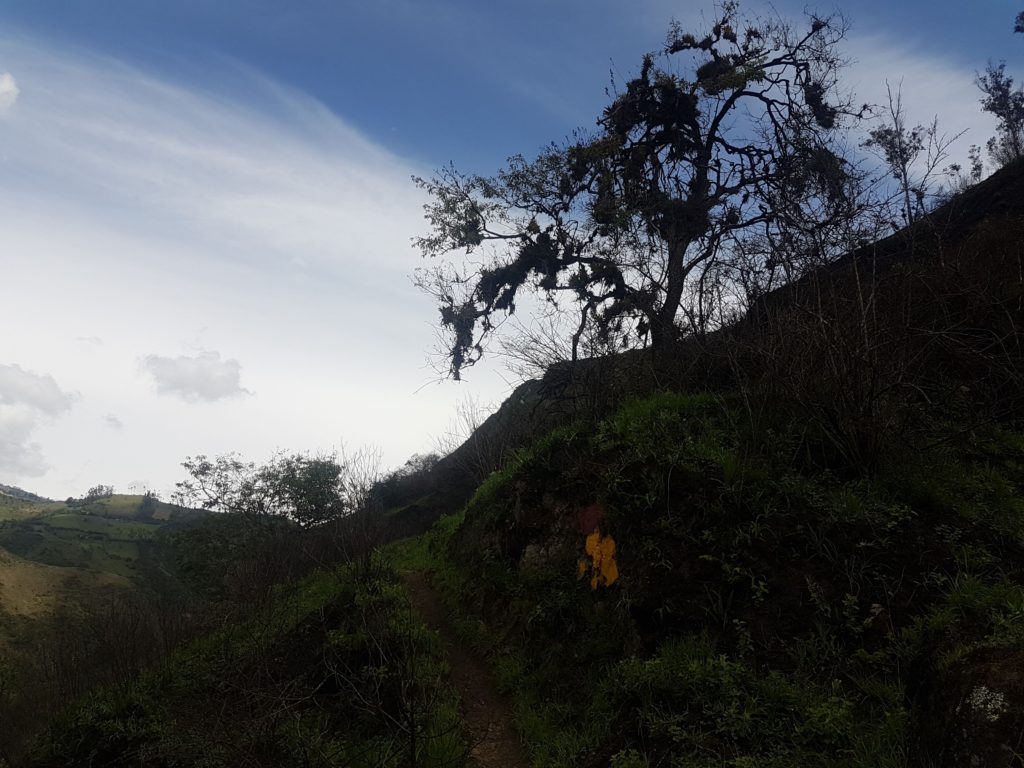
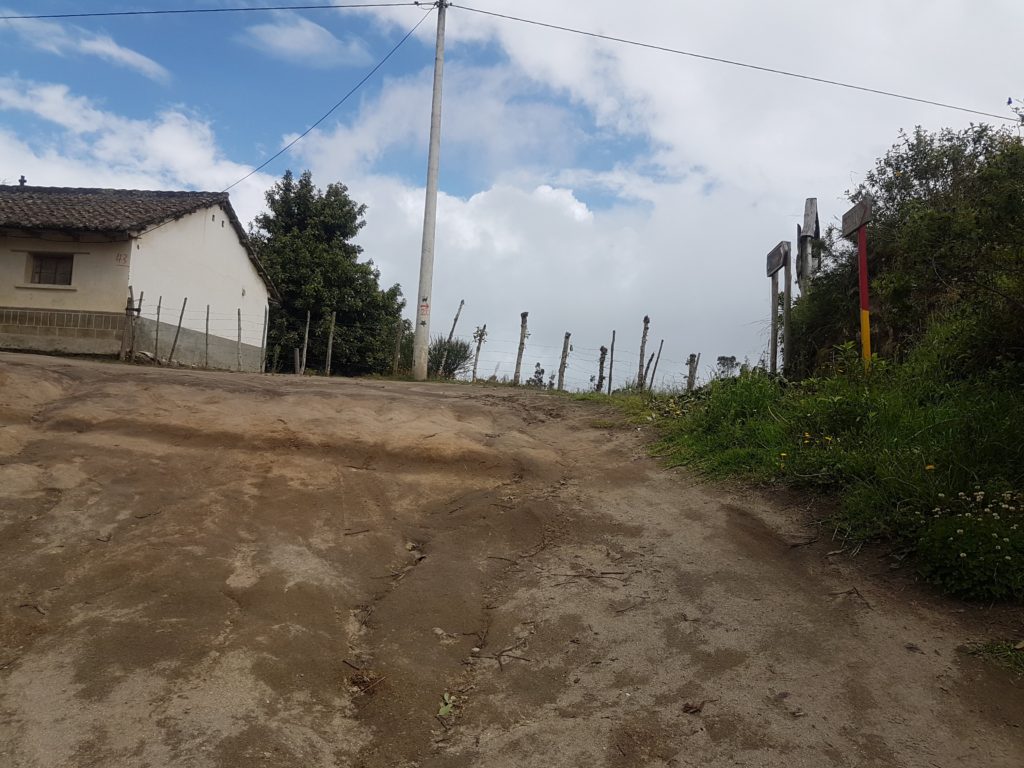
Keep descending on this path until you reach the two large wooden signs that point in one direction saying ‘zona extremo’ and in another direction saying ‘zona seguro’.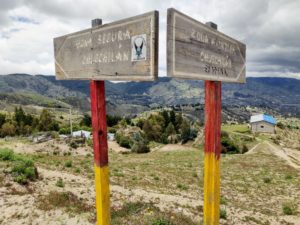
I decided to take the ‘zona extremo’ option. I’d read it wasn’t that ‘extreme’ and they were right. I also found out later that the ‘zona seguro’ path was longer.
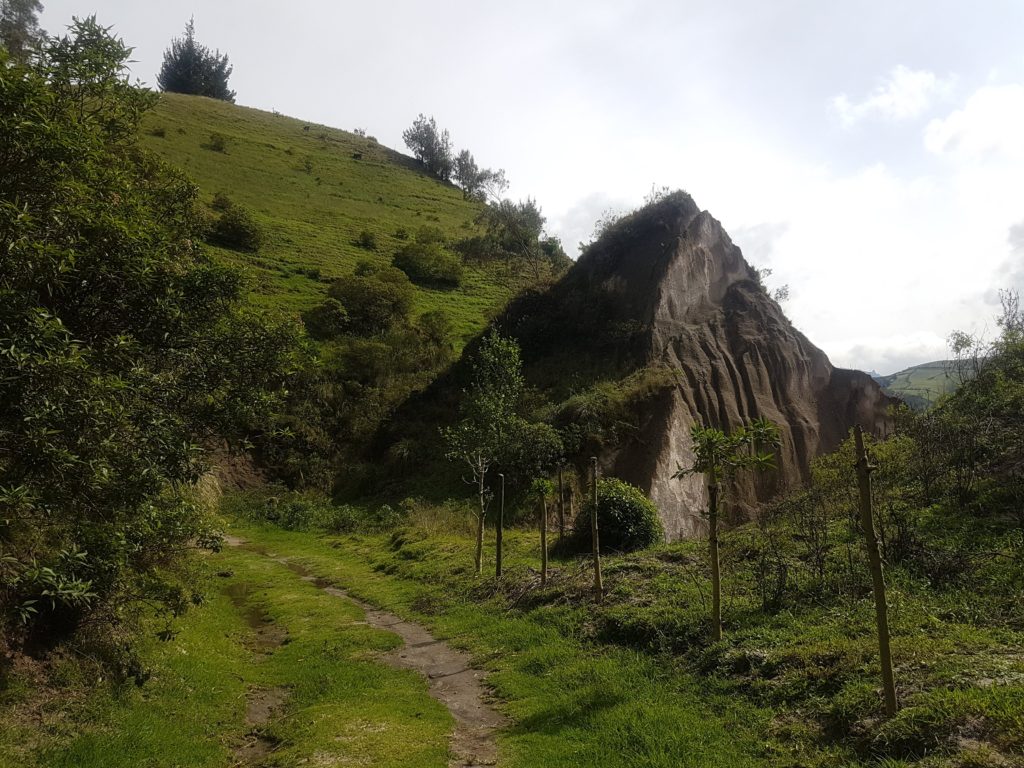
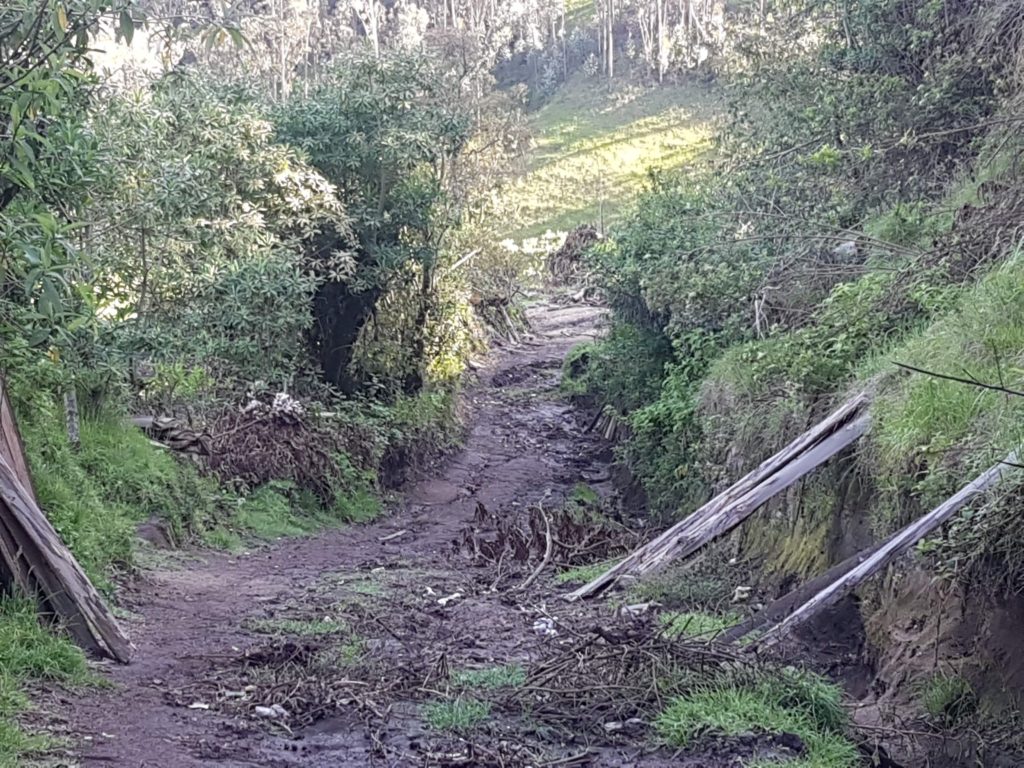
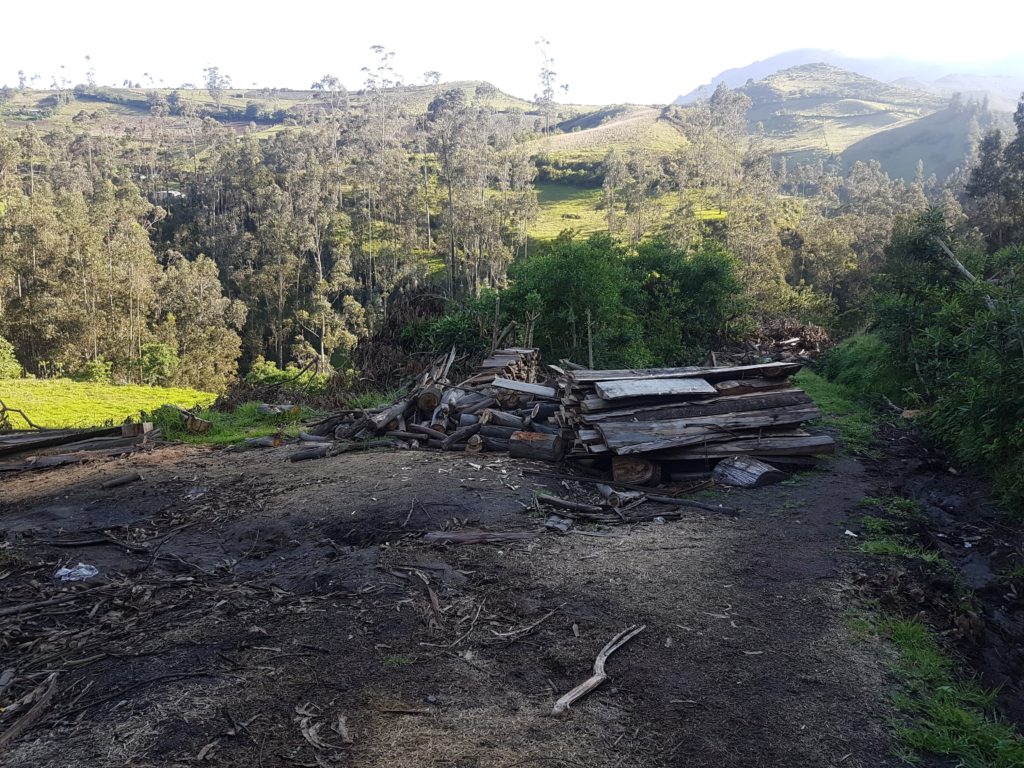
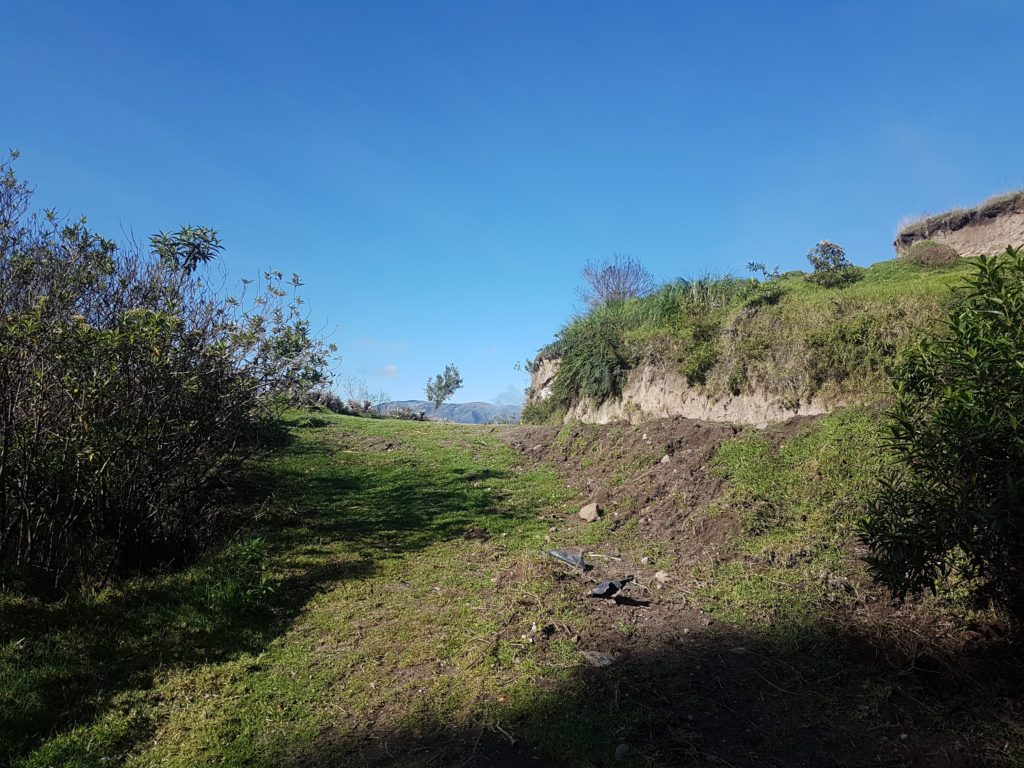
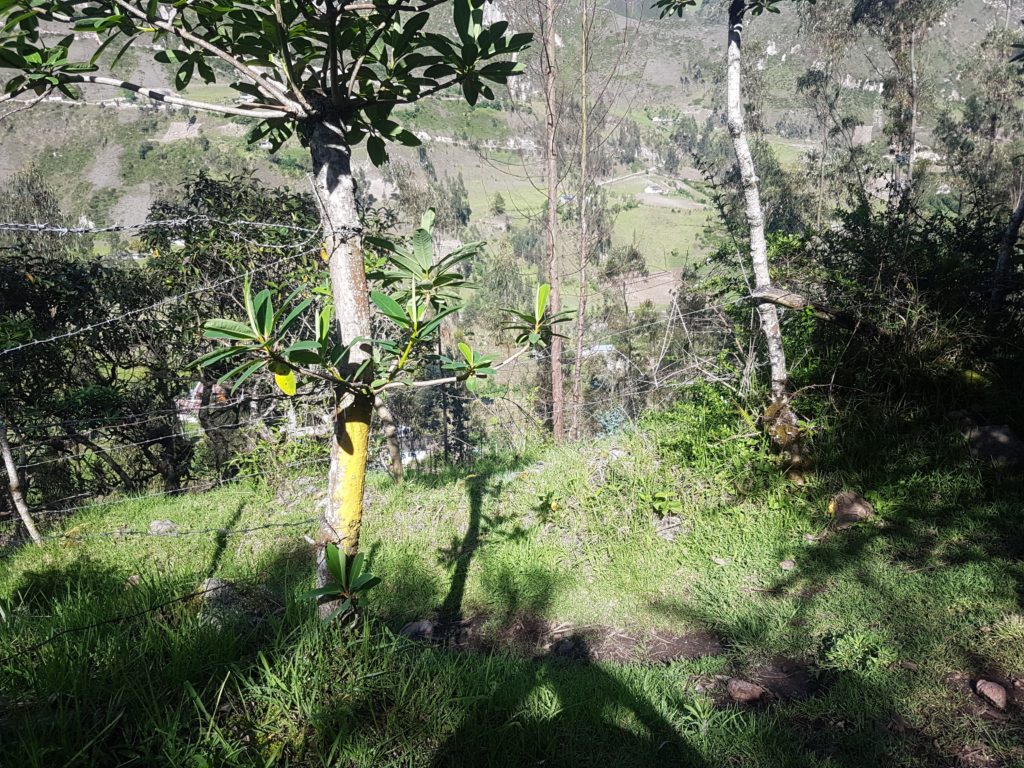
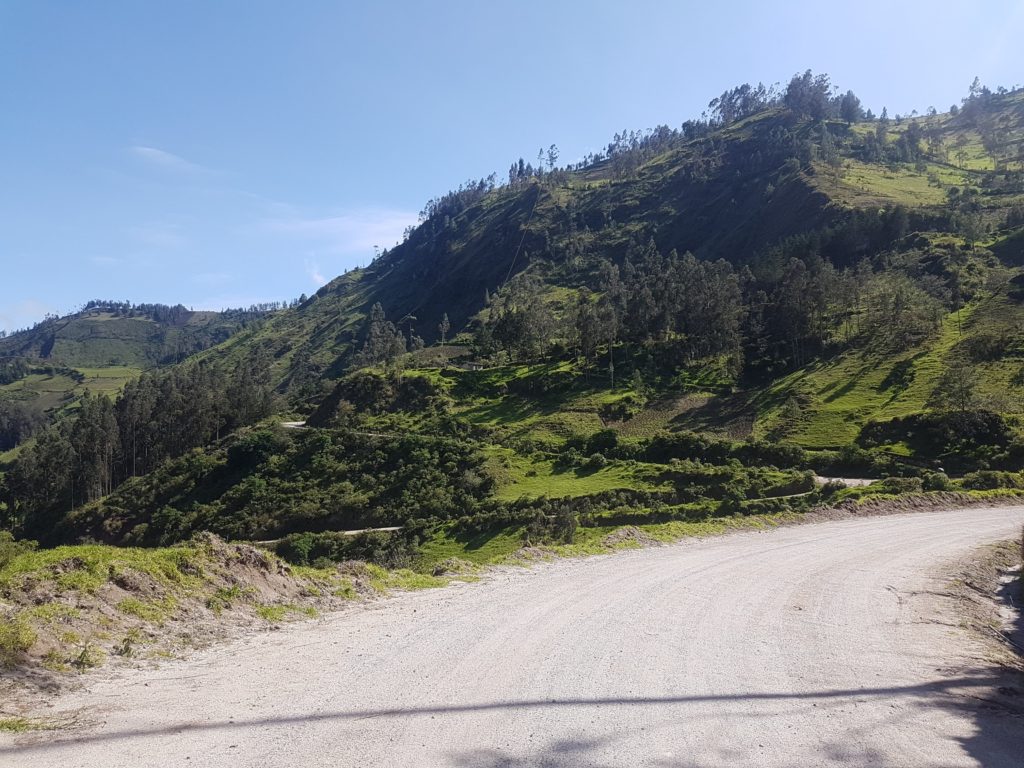
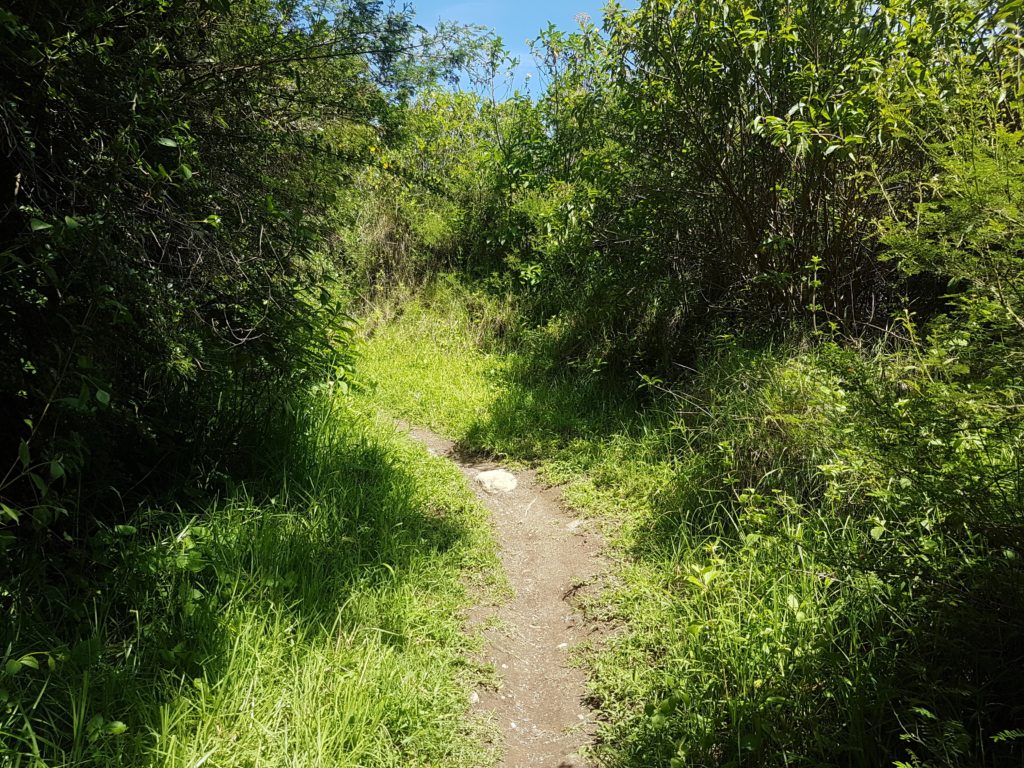
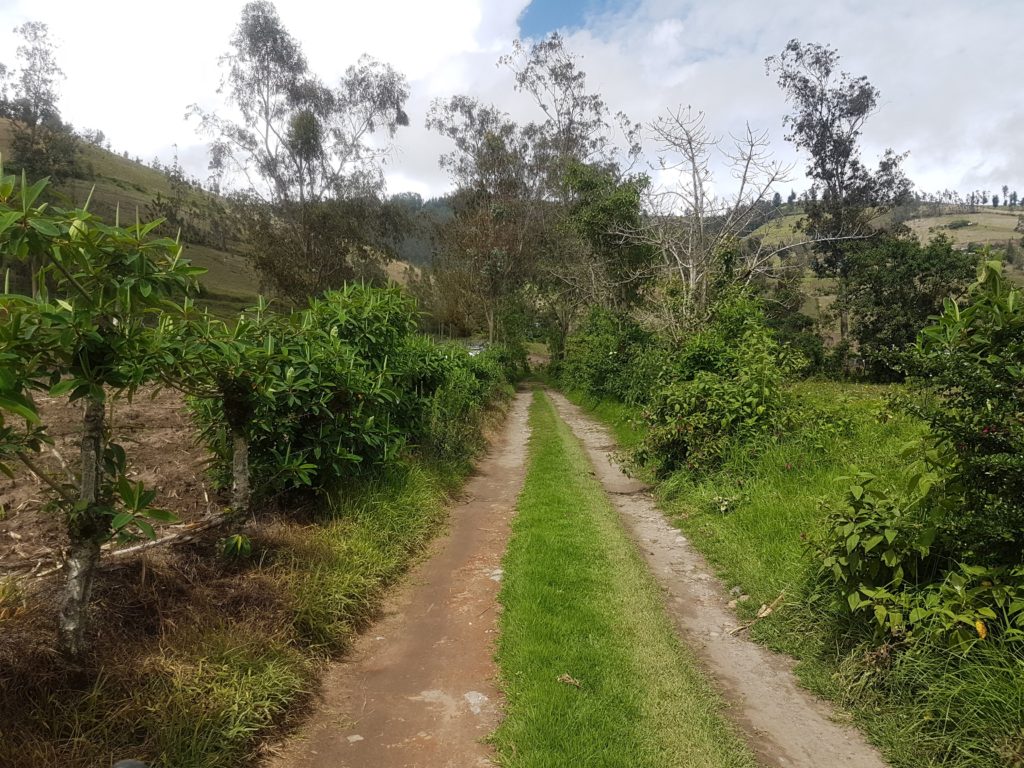
The terrain
This section was however, diverse in terms of different types of trail but not extremely hard as such. You encounter very narrow descending paths which are not much more than channels eaten out by previous torrents of water and some short sharp ascents. The later are everywhere and there’s no avoiding them whichever way you do the trek.
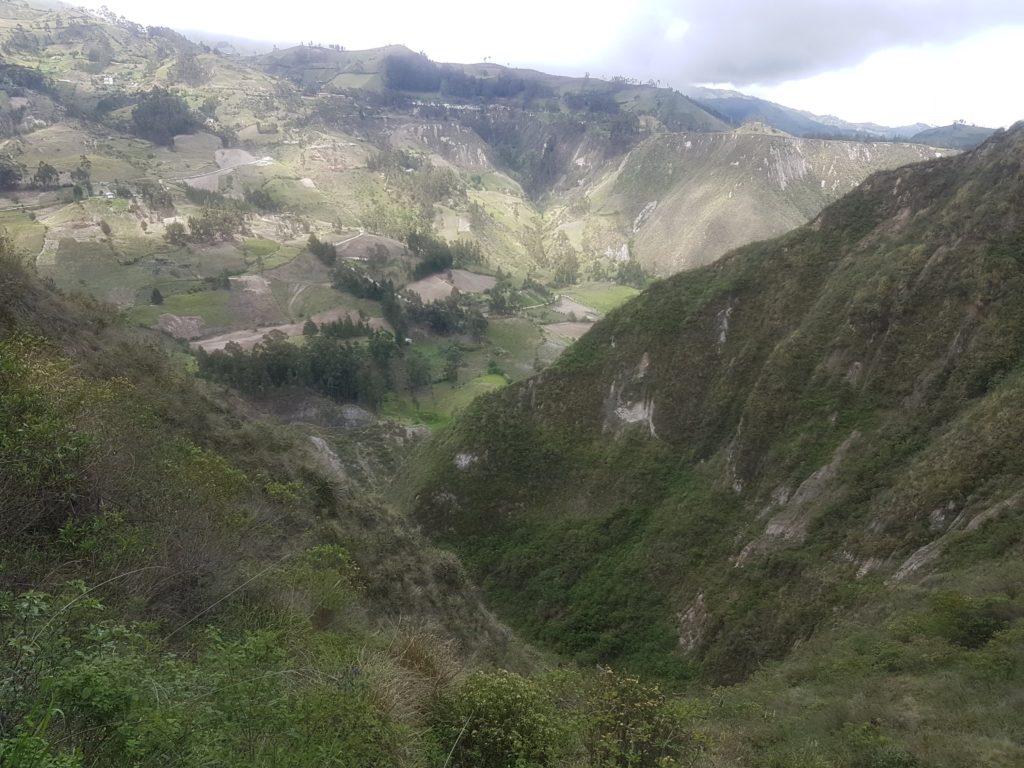
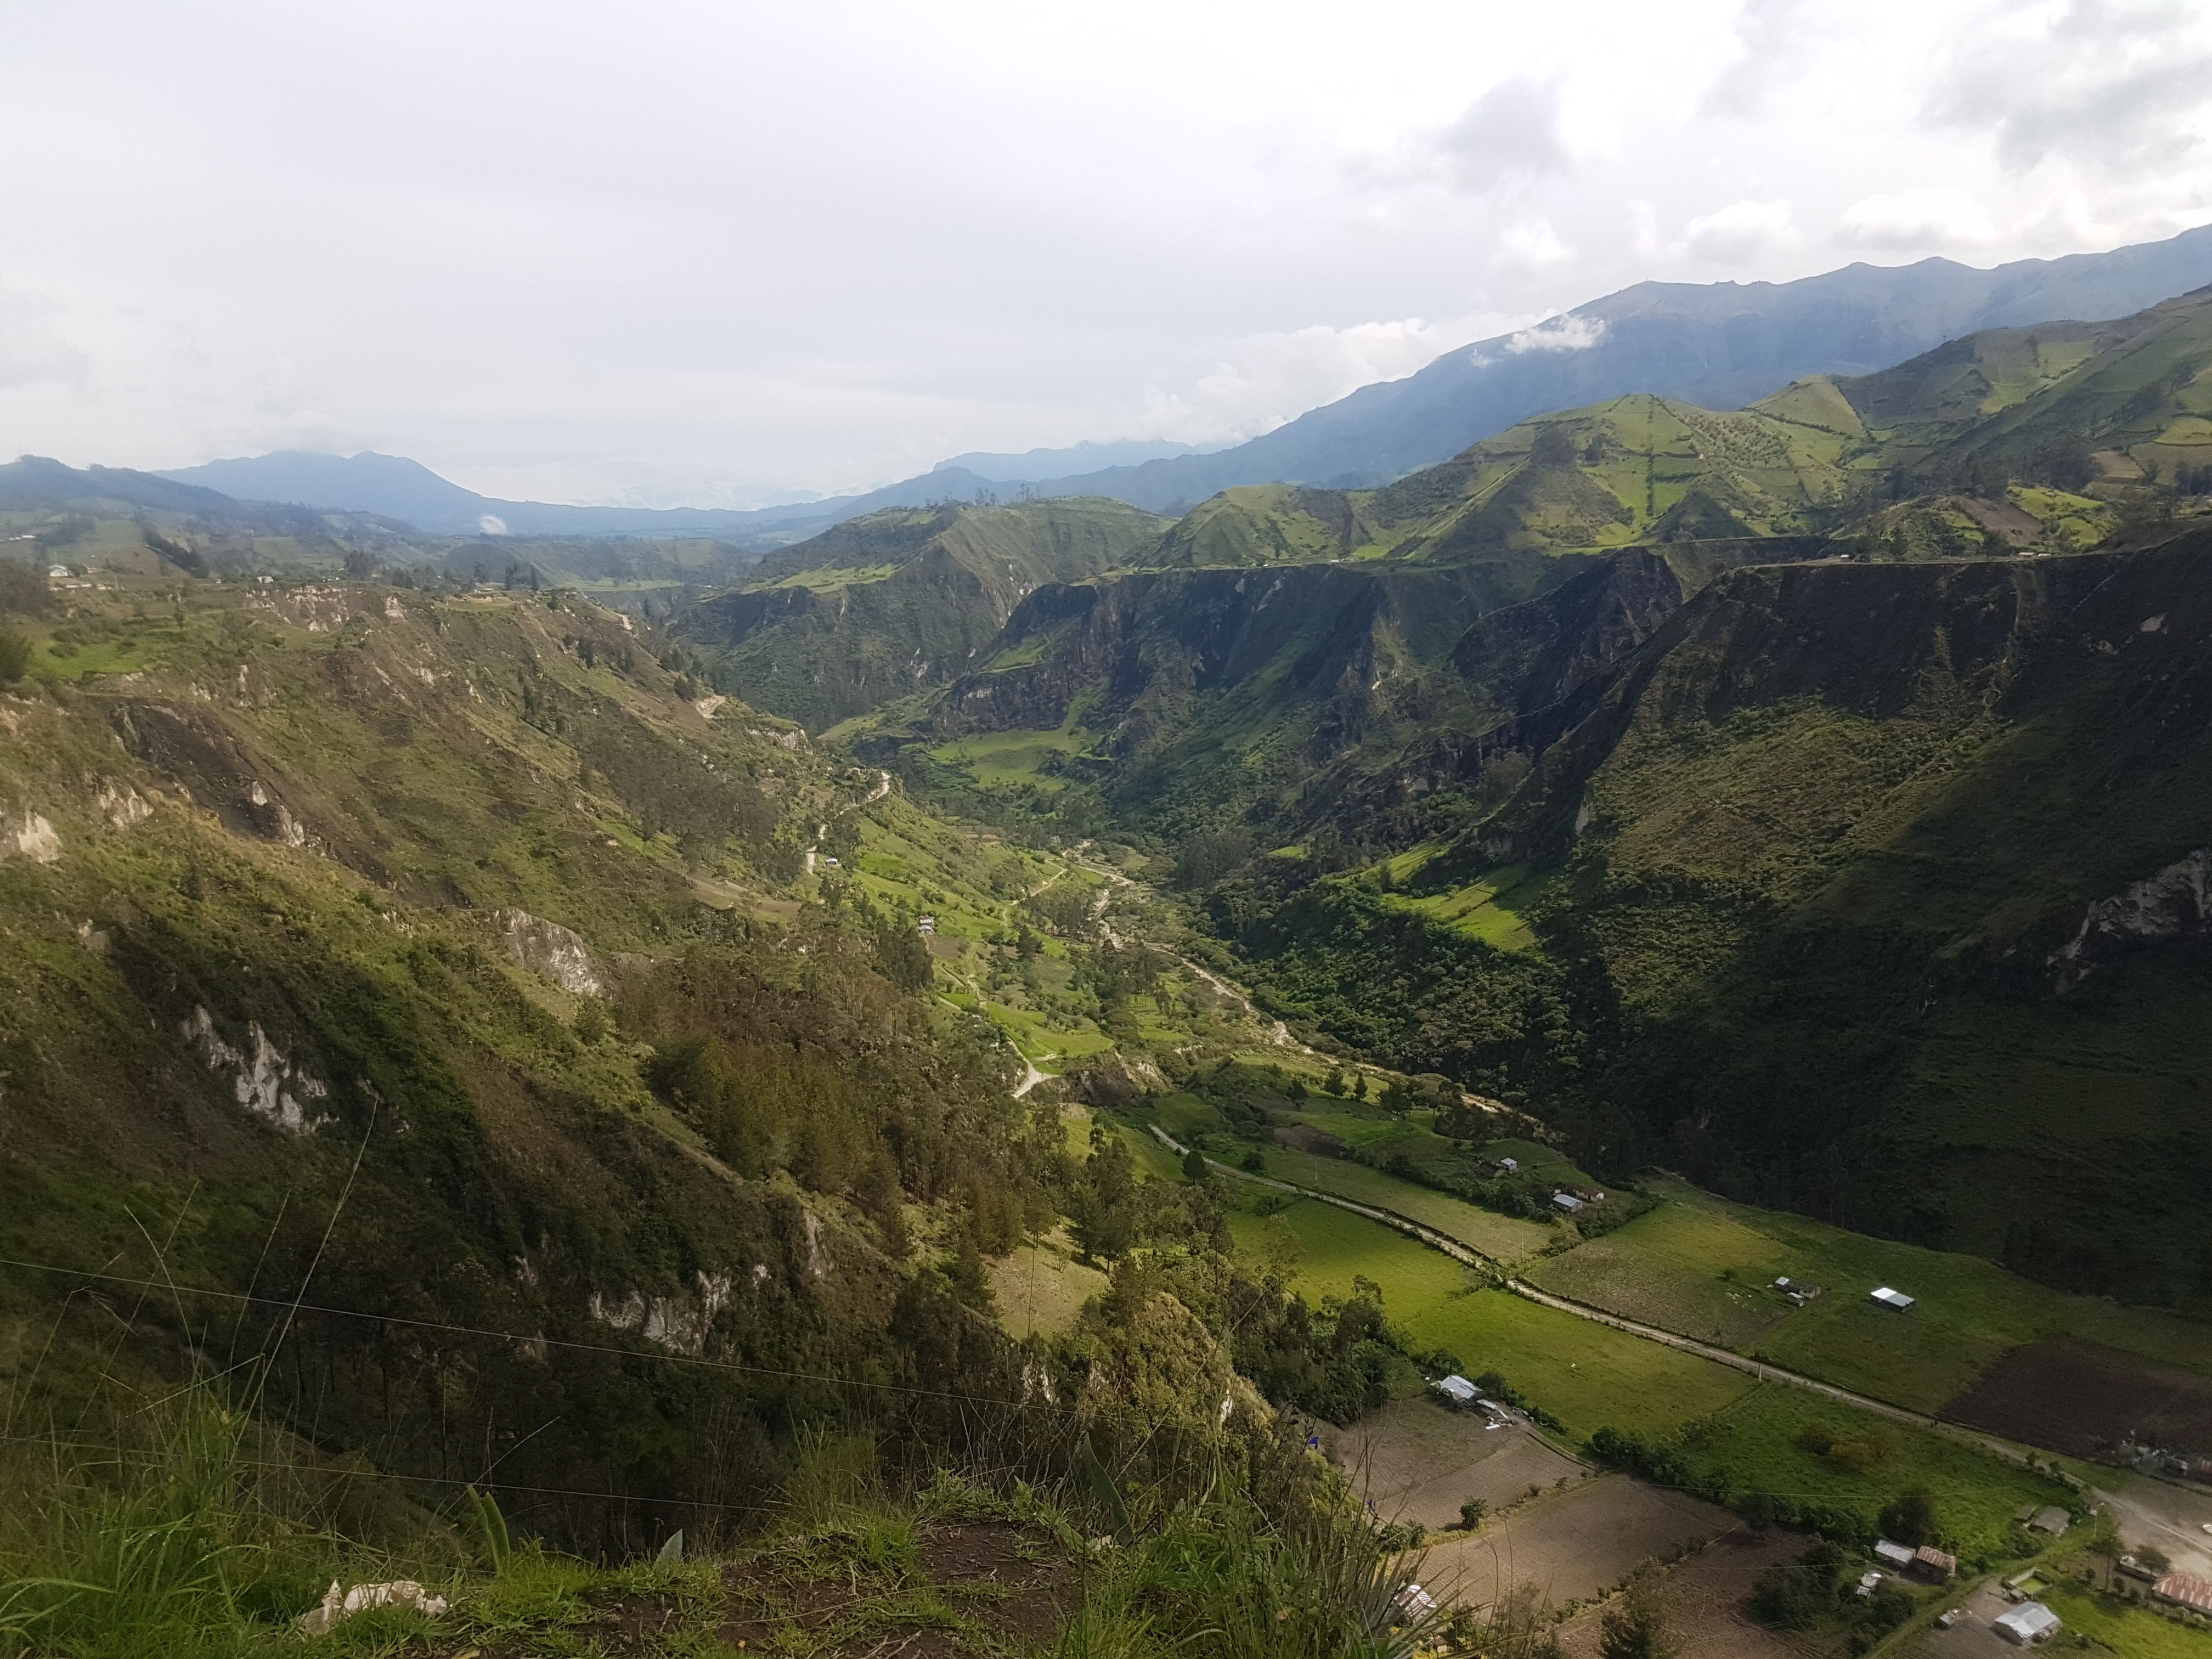
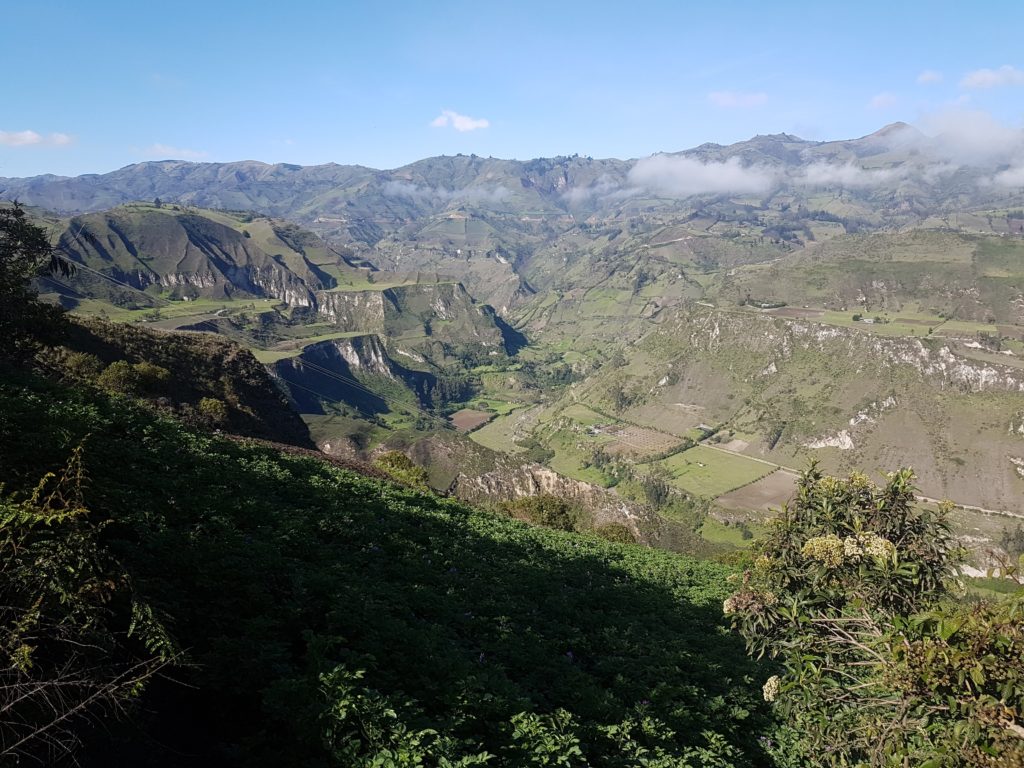
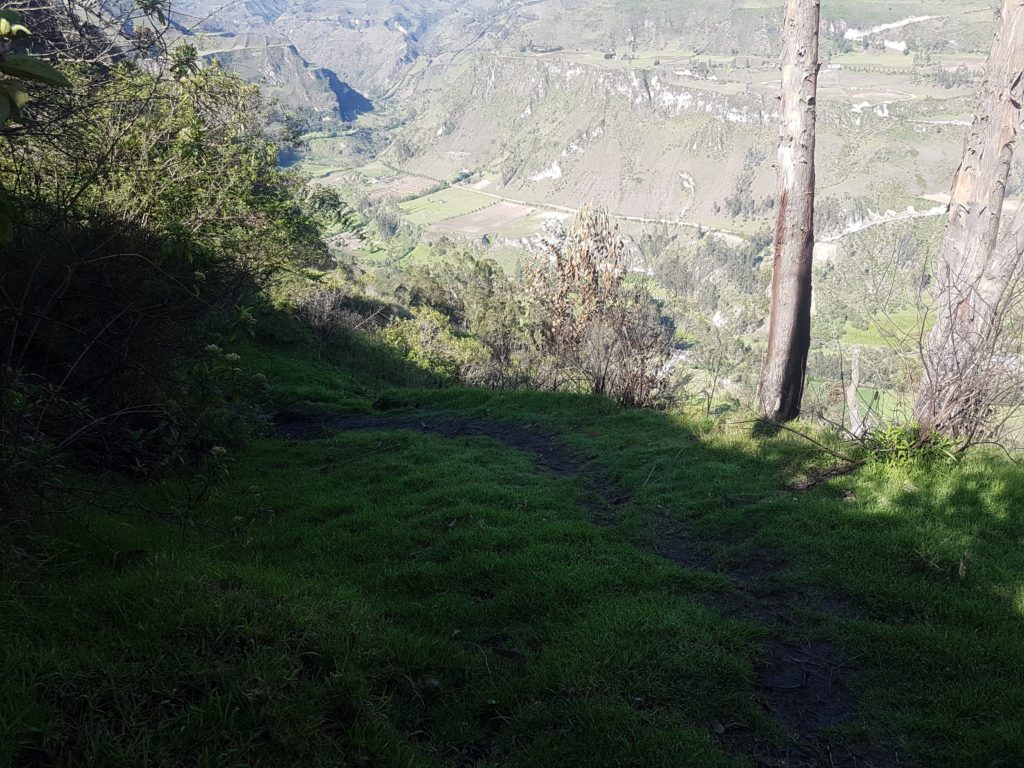
The scenery is however, majestic as you gaze to your right where the hills fall away into a deep valley.
Walking Uphill
Just take it slow and take plenty of rests as and when you need them. Each day these distances aren’t far, 11-12 km’s, so there is no need to hurry. Know your own fitness level and leave early in the morning to factor this and getting lost into your time. That way you’ll have plenty of time for stopping and breathing and enjoying the views.
Darkness at 6 pm
It gets dark around 6 pm 365 days of the year here so this is something you need to factor in. The trails could be very treacherous in places in the dark. I didn’t start this section until 10 am, stopped for plenty of photos, a lunch break and rest breaks. Plus added an extra 30 minutes for getting lost and still made it into Chugchilan at 3.30 pm.
Altitude
Having done the loop in reverse you might be inclined to feel like you’ve taken the easy way, you haven’t. Yes, there’s a lot of downhill but any distance of downhill is also hard on the body just in different ways.
Plus, the climbs are at a higher altitude than you’re probably used to. This means that a rise you might normally be able to sprint up at low altitude (when you haven’t already walked for 10 km’s), takes a lot of effort and determination at high altitude.
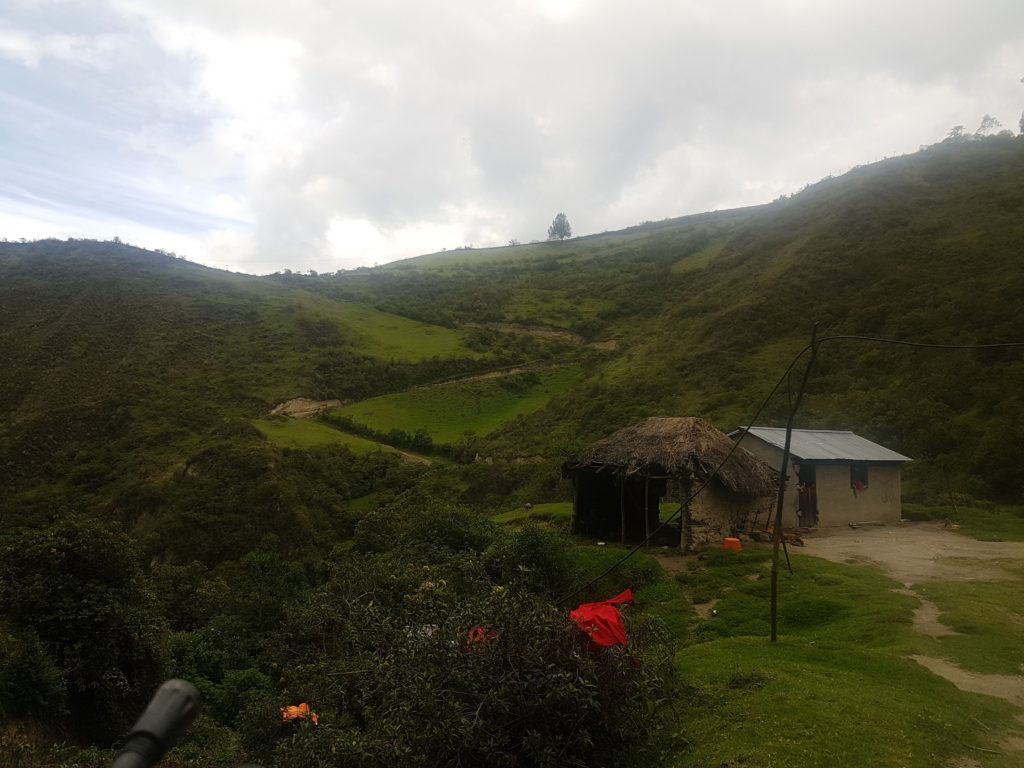
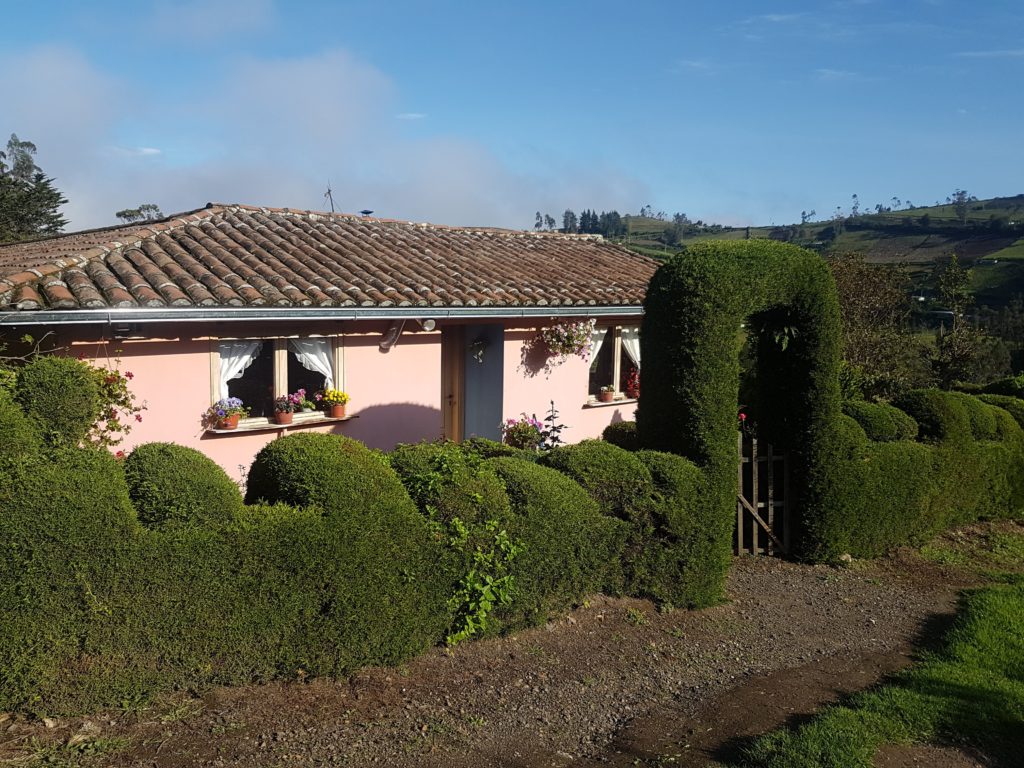
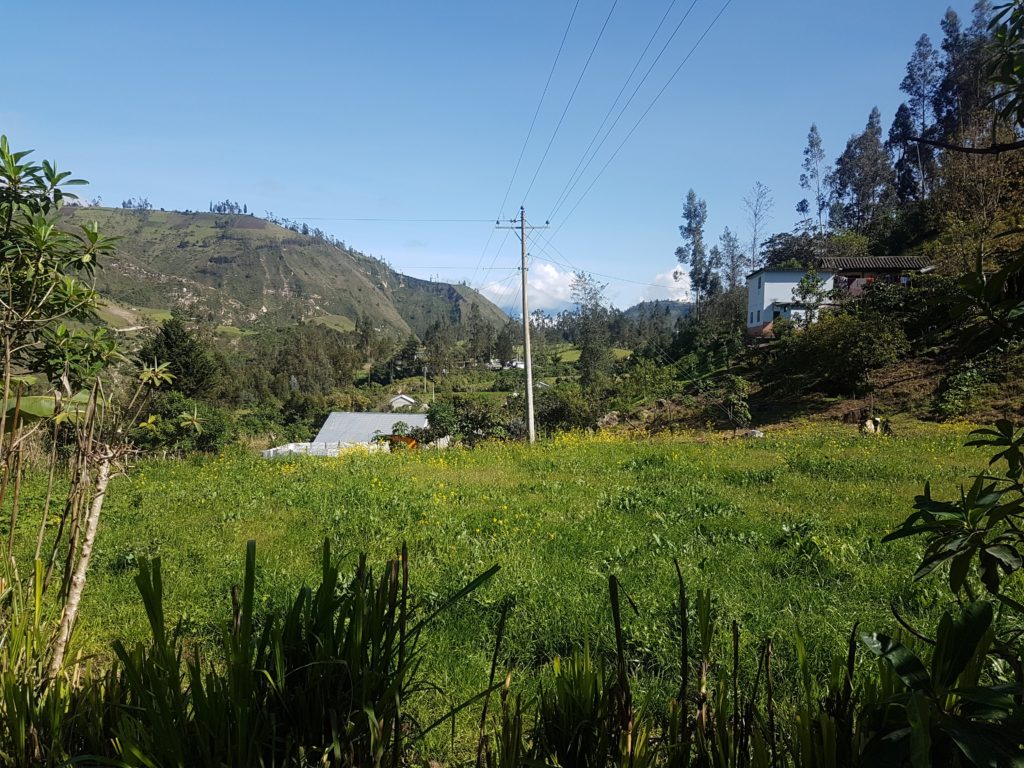
Chugchilan is a small town which you’ll need to pass through (3 minutes walk) to get to the Cloud Forest Hostel, which is where I stayed.
It’s $15 a night including dinner and breakfast of which there is plentiful amounts of healthy food. There’s a common room with a fire to rest up and thaw out in. Also to dry out any clothes if you’ve gotten caught in the rain.
I found it quite cold in Chugchilan at night but the beds have nice heavy, warm blankets to snuggle up in.
Reverse Quilotoa Loop, Chugchilan-Insinlivi, Day Two
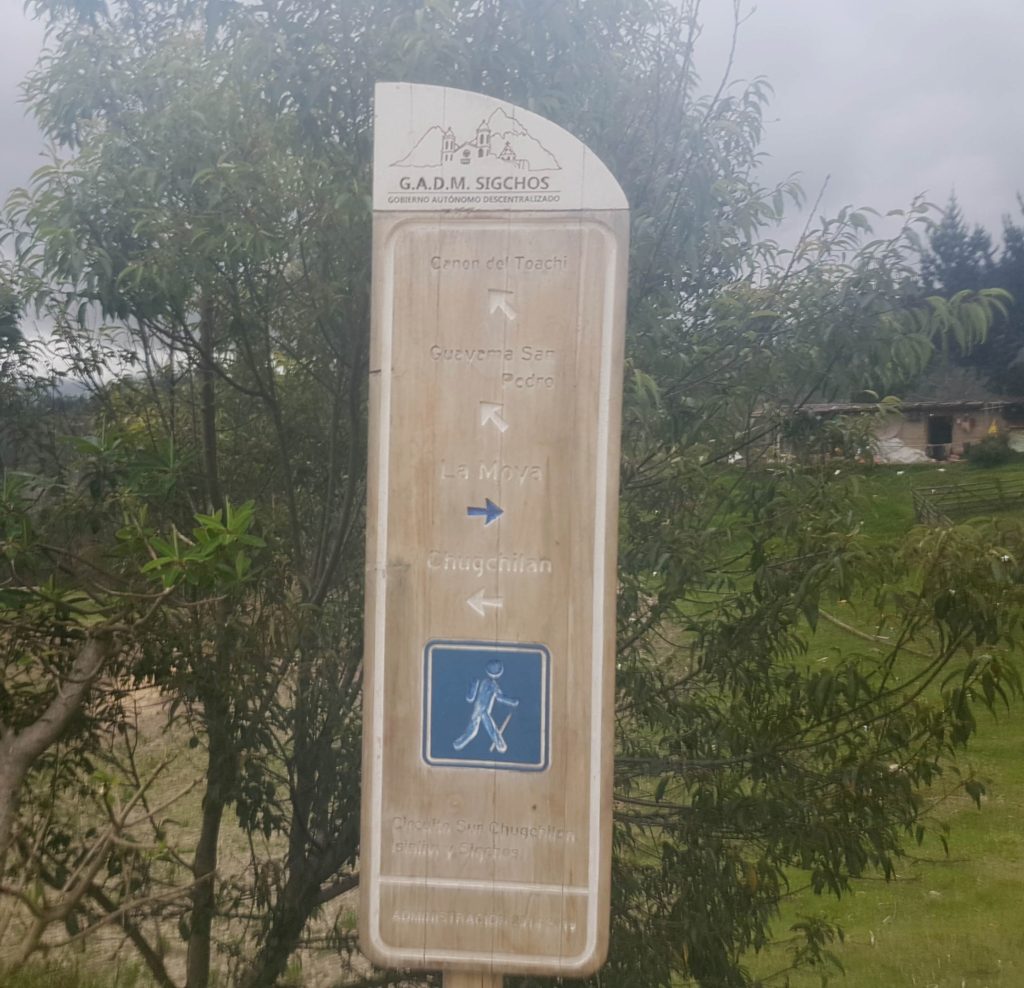
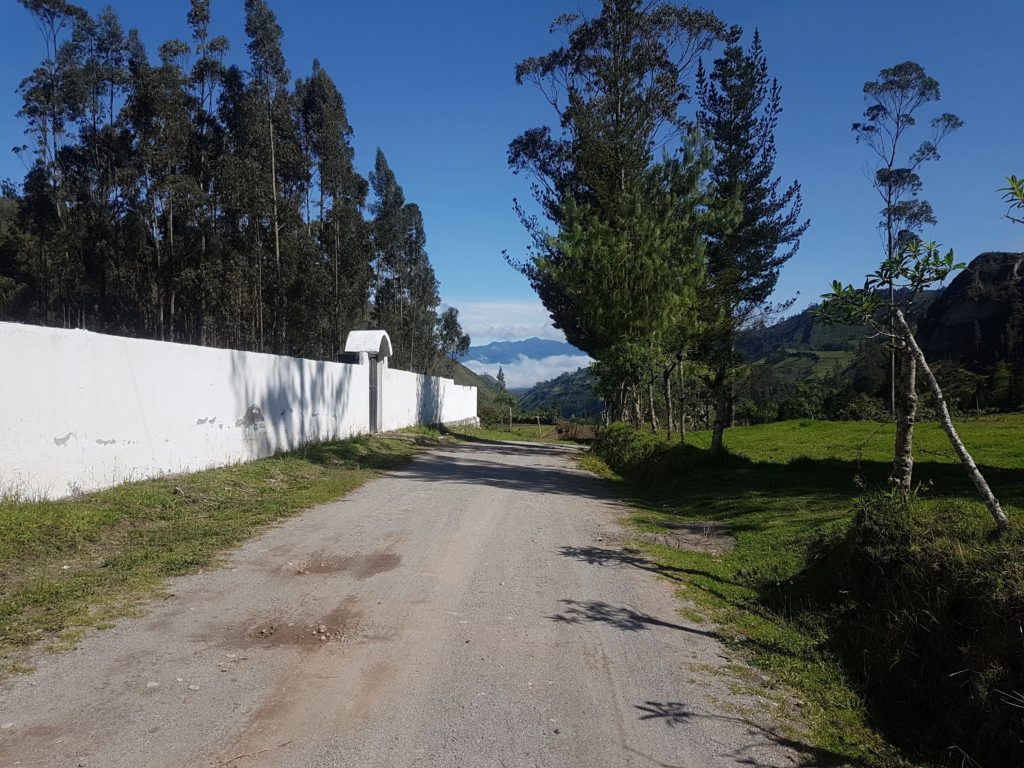
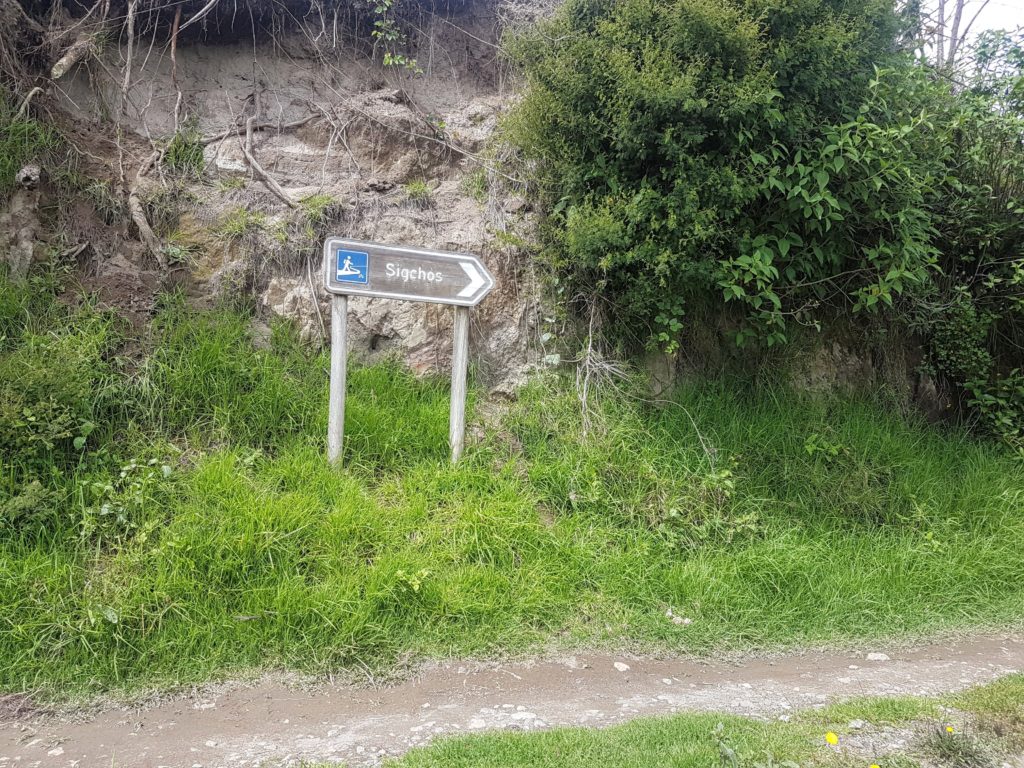
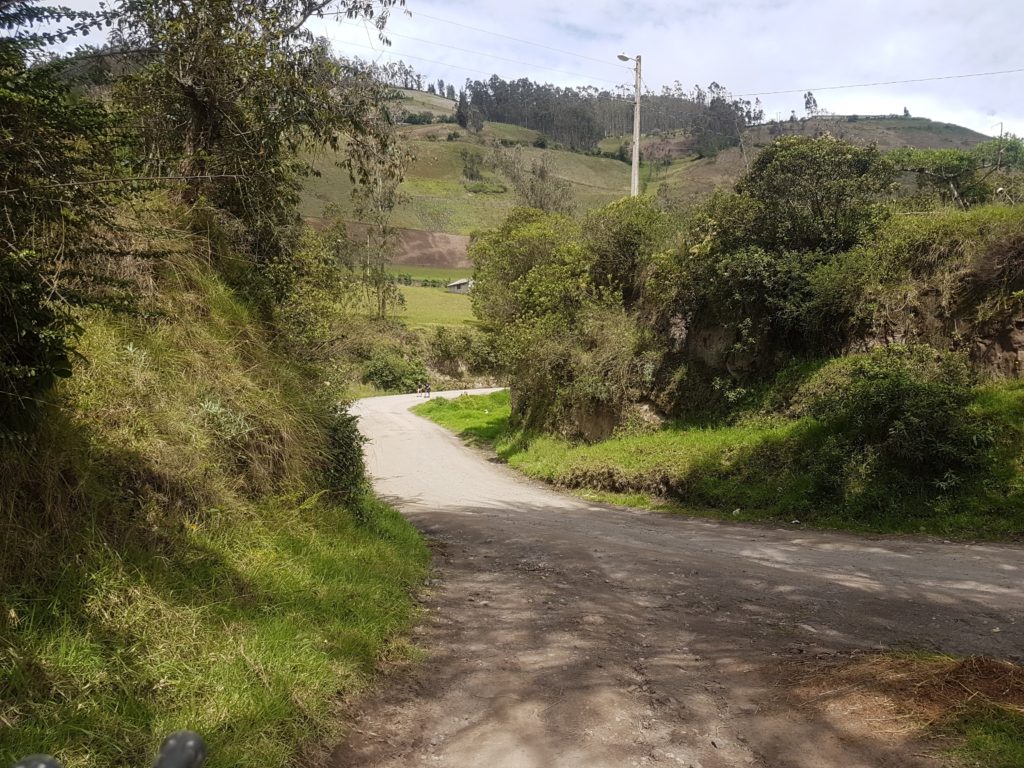
This section of the trek starts after Cloud Forest, heading downhill and out the other side of town from the one you entered on, all on the main road. You’ll first pass the cemetery on your right, after a while you’ll see a big white building which has something to do with the ministry of interior, then you’ll pass a chocolate production place which has a big brown sign post. Less than 10 mins later you’ll see the sign (photo below).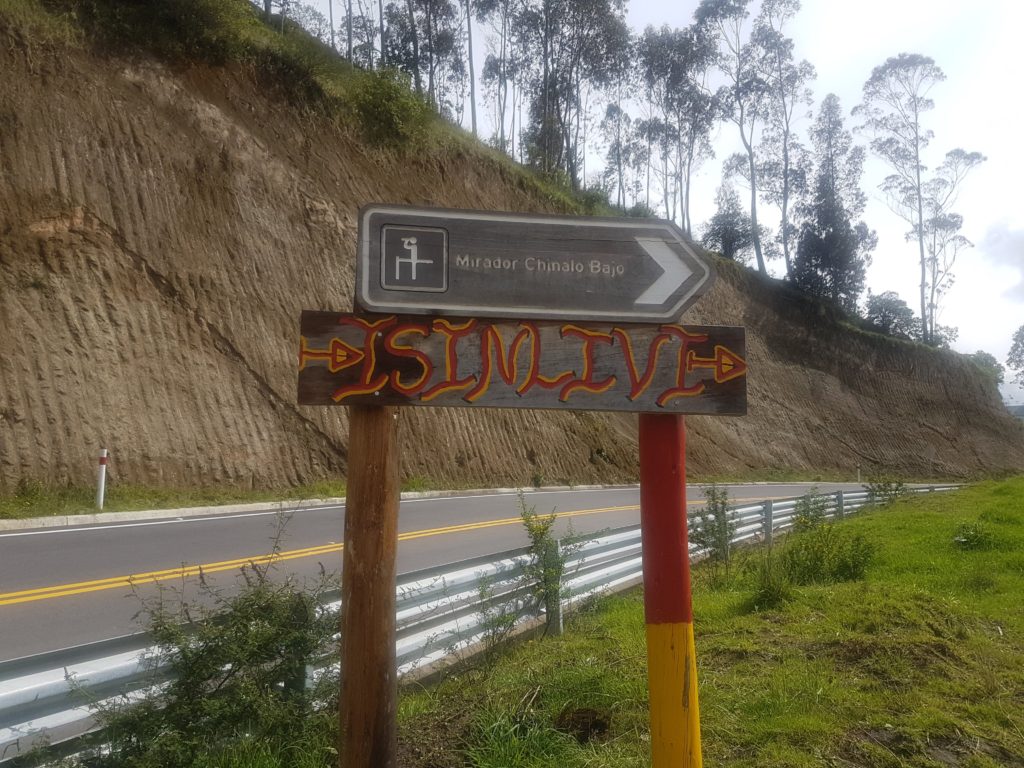 Turn to the right as it suggests.
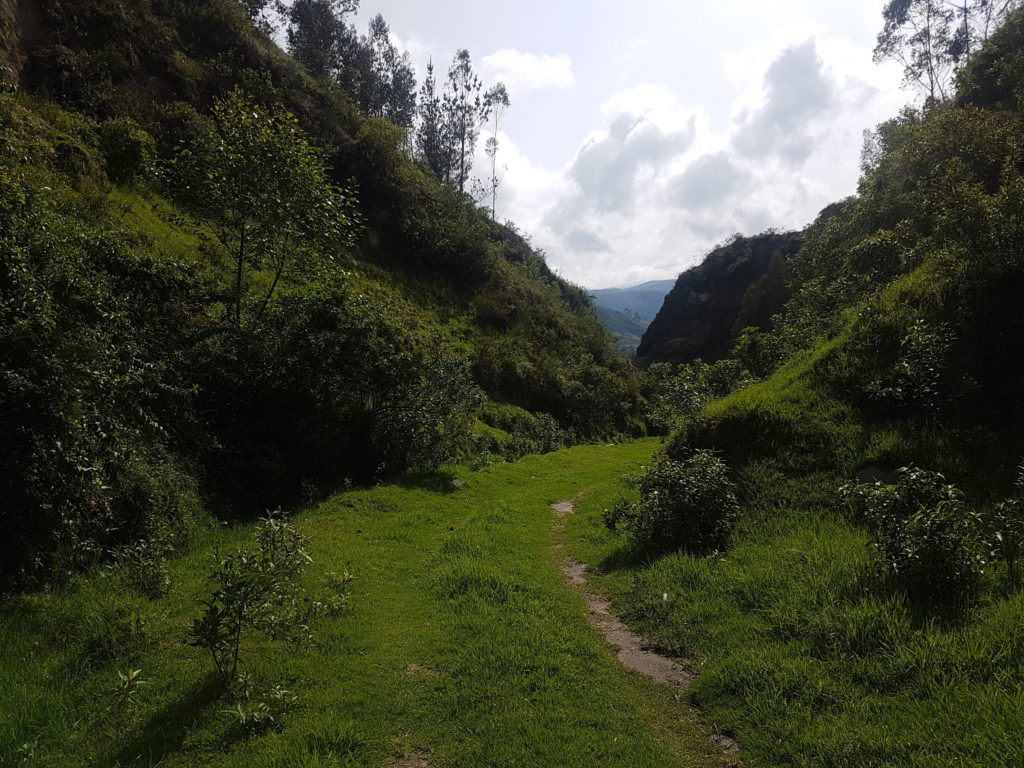
 After you’ve passed the two views (above) you’ll come to the sign below. Take this short road up to the lookout for a chance to sit and soak up the beautiful views of the valley below you.
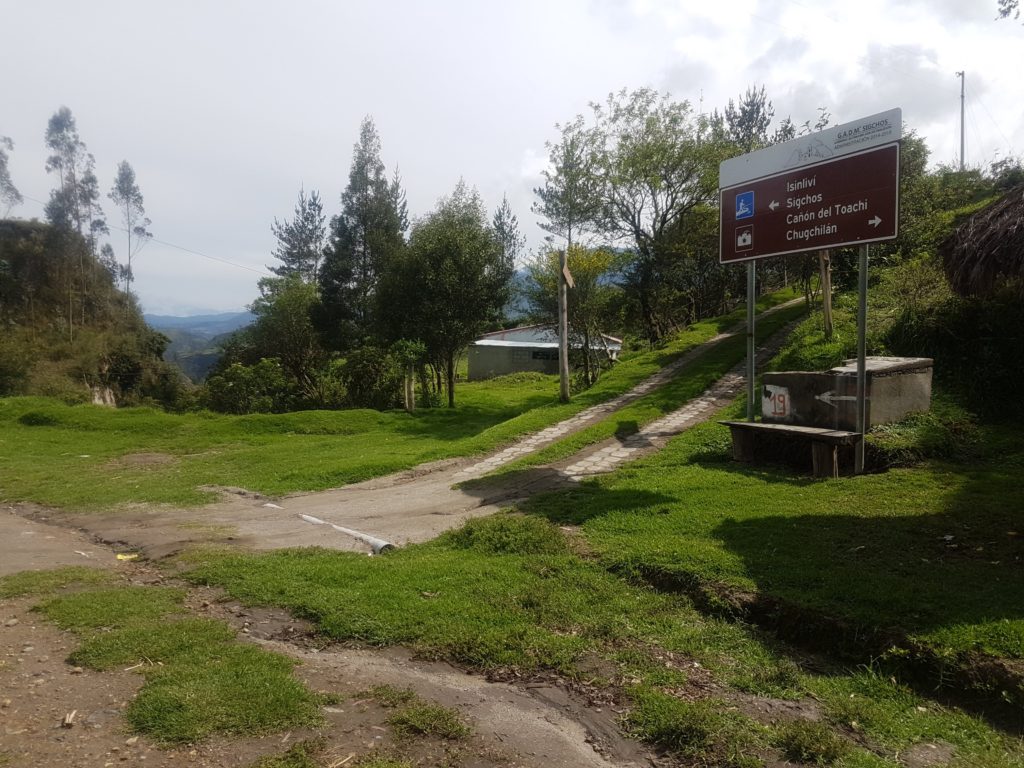
 Come back down from the lookout and take the (easy to miss, well at least I did) small grassy very narrow path directly to your right. It almost has you coming back on yourself but instead of ascending to the lookout you’re descending.
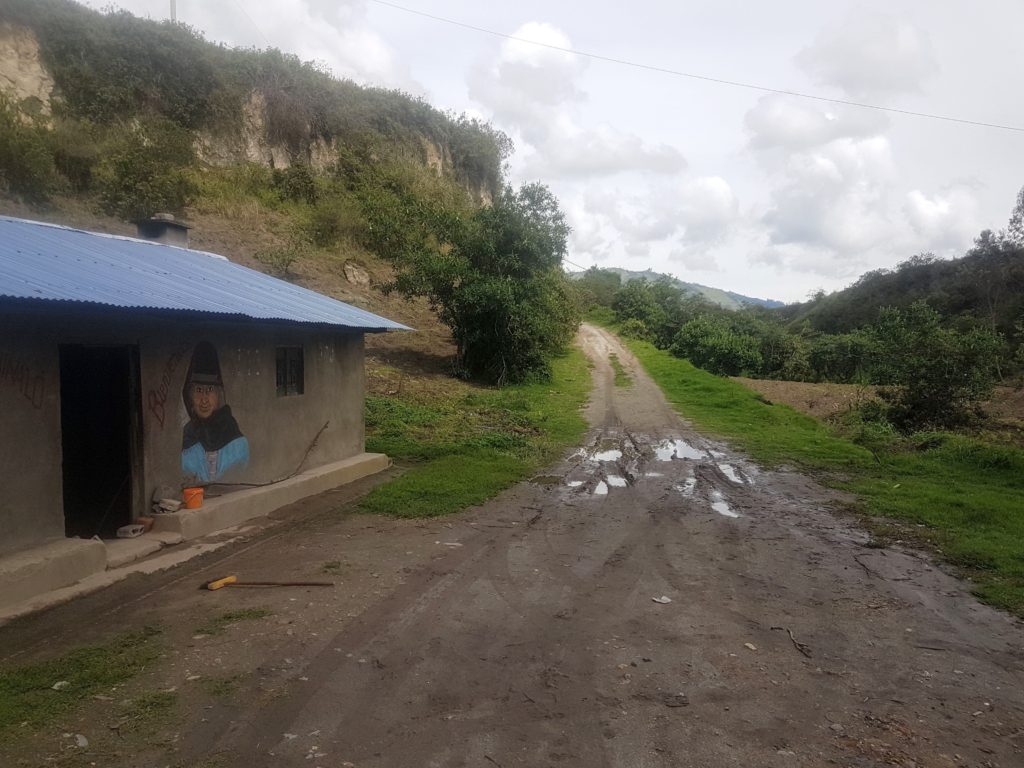 The photo below is the path you should be taking. If you’re standing facing this, the road up to the lookout will be on your right.
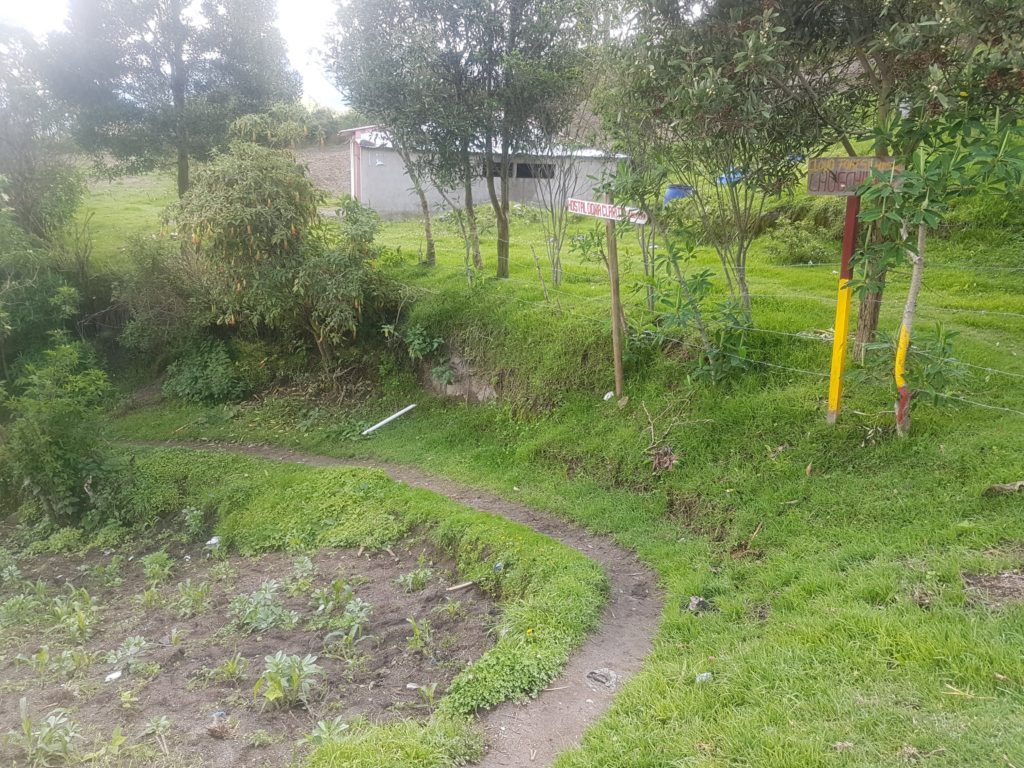
Warning Wild Turkeys
People mention a lot about being wary of the dogs on this trek but my advice is to watch out for the turkeys. I took the wrong path as mentioned above. And twice I had to fend off the seemingly threatening manner of a big old turkey. He may not have liked my question of how he’d survived Thanksgiving. Or perhaps he was actually going for my ankles to warn me I was going the wrong way.
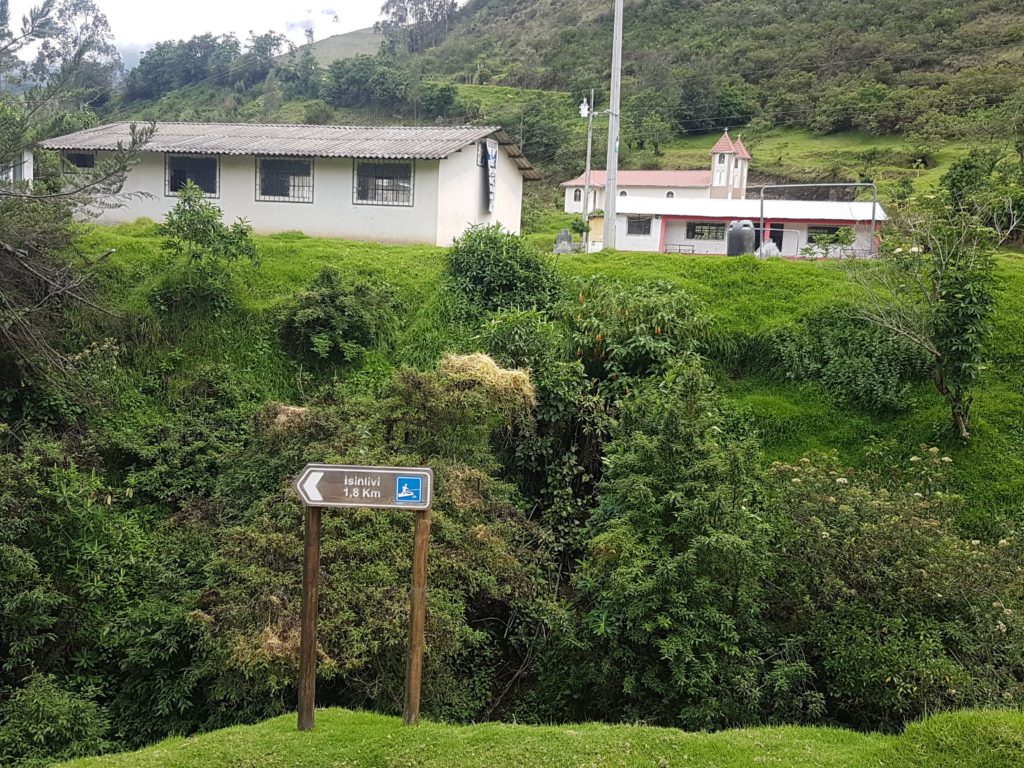
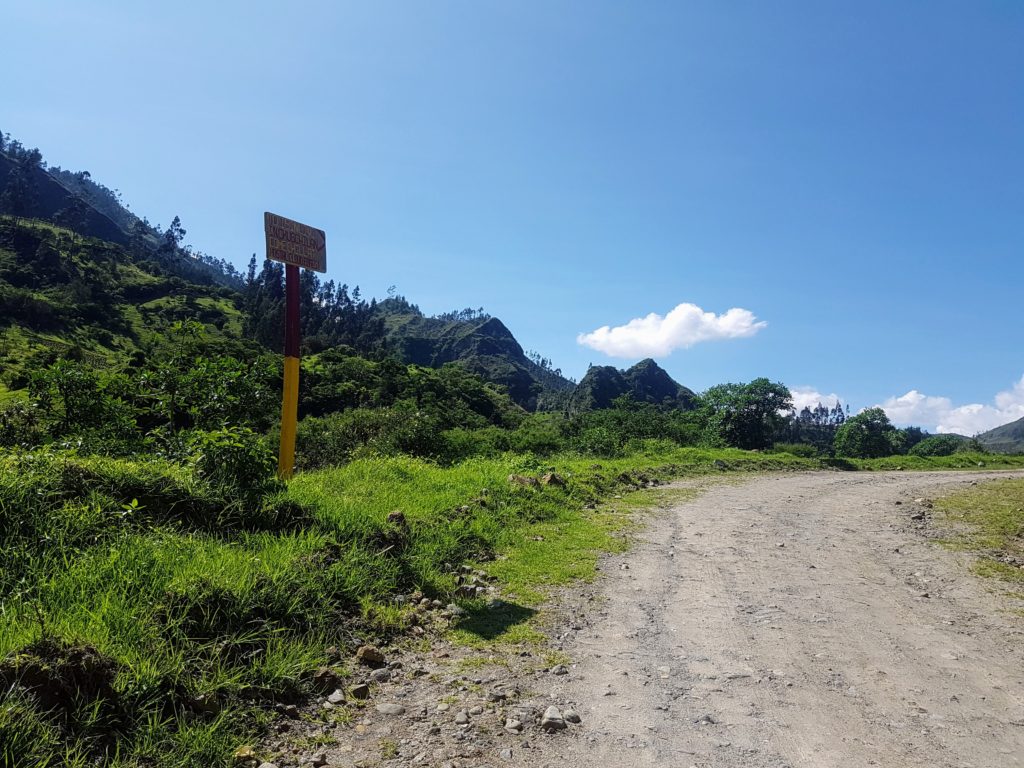
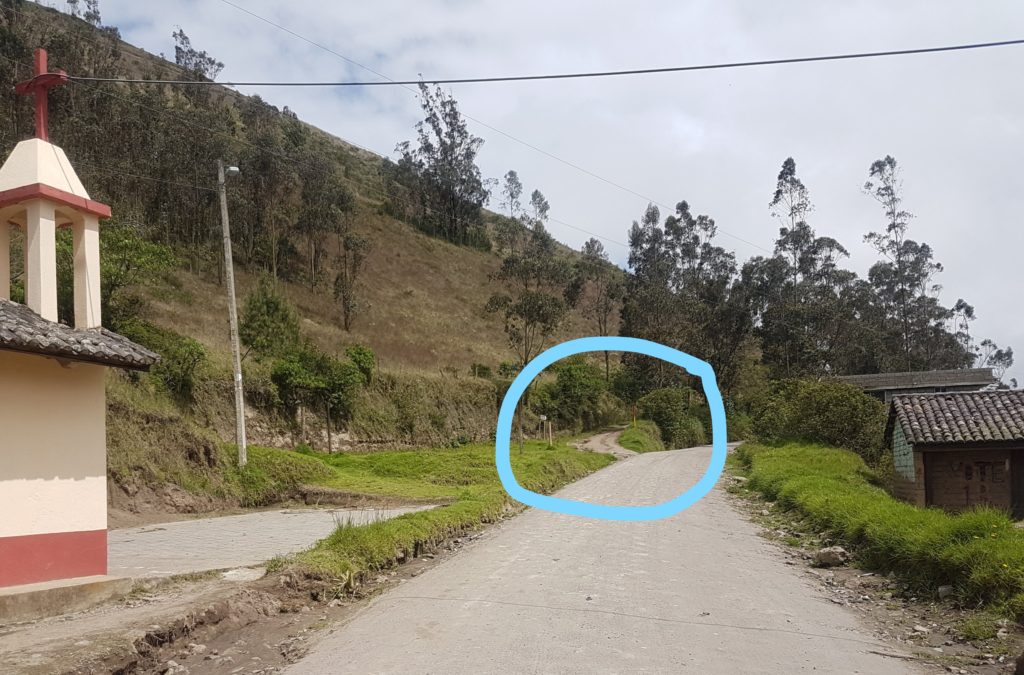
Descend towards the village and turn left once you reach the road. This will take you through the village. About 8 minutes later you’ll come across the sign below
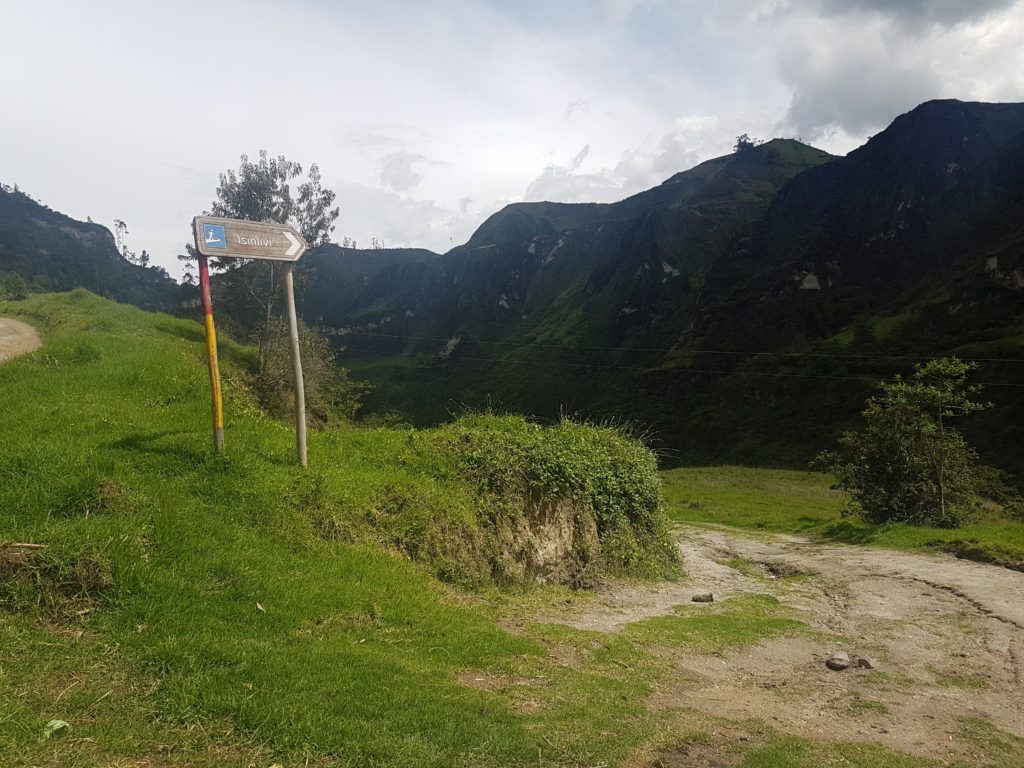 Follow this path down to the right. You’ll follow along with the river which will be on your right the whole time.
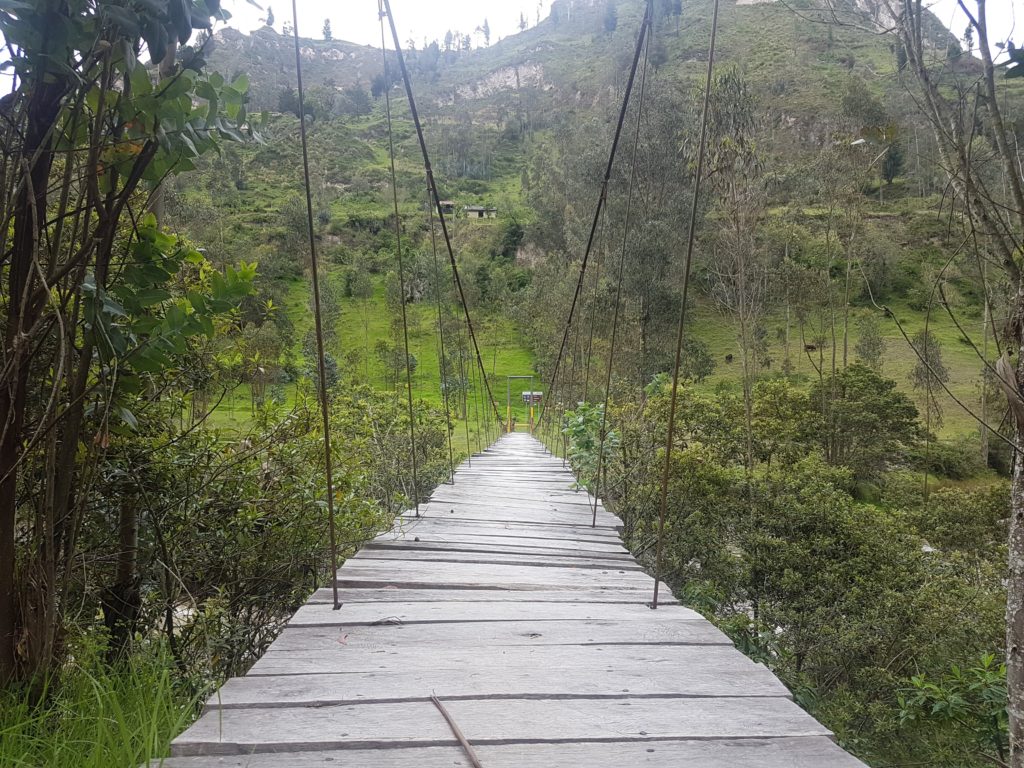
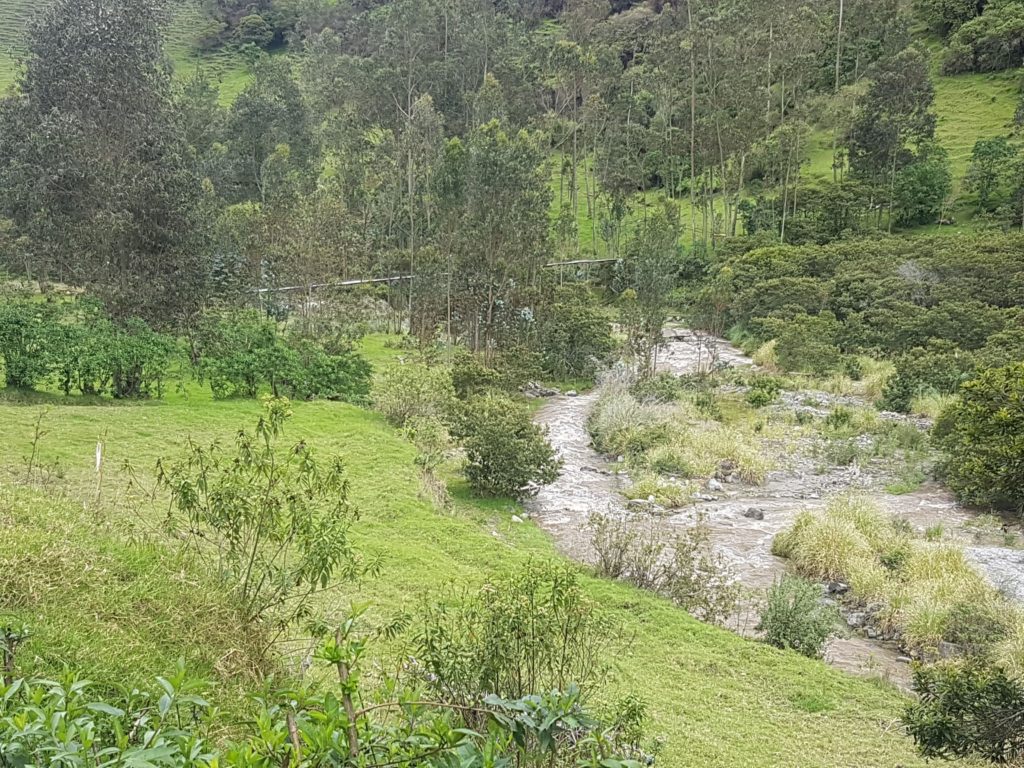 You need to cross this biggish wooden swing bridge
 At the top of the switchbacks you’ll see the sign as in the 1st photo below, go left as the sign suggests and continue descending on the path as per the 2nd photo below
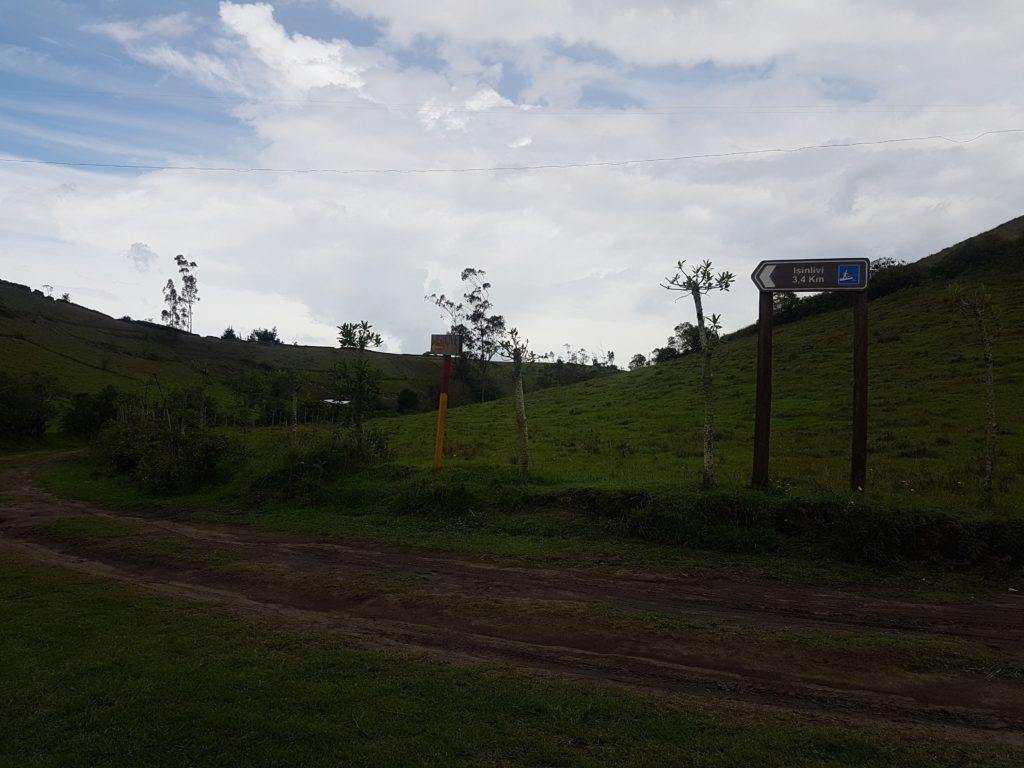

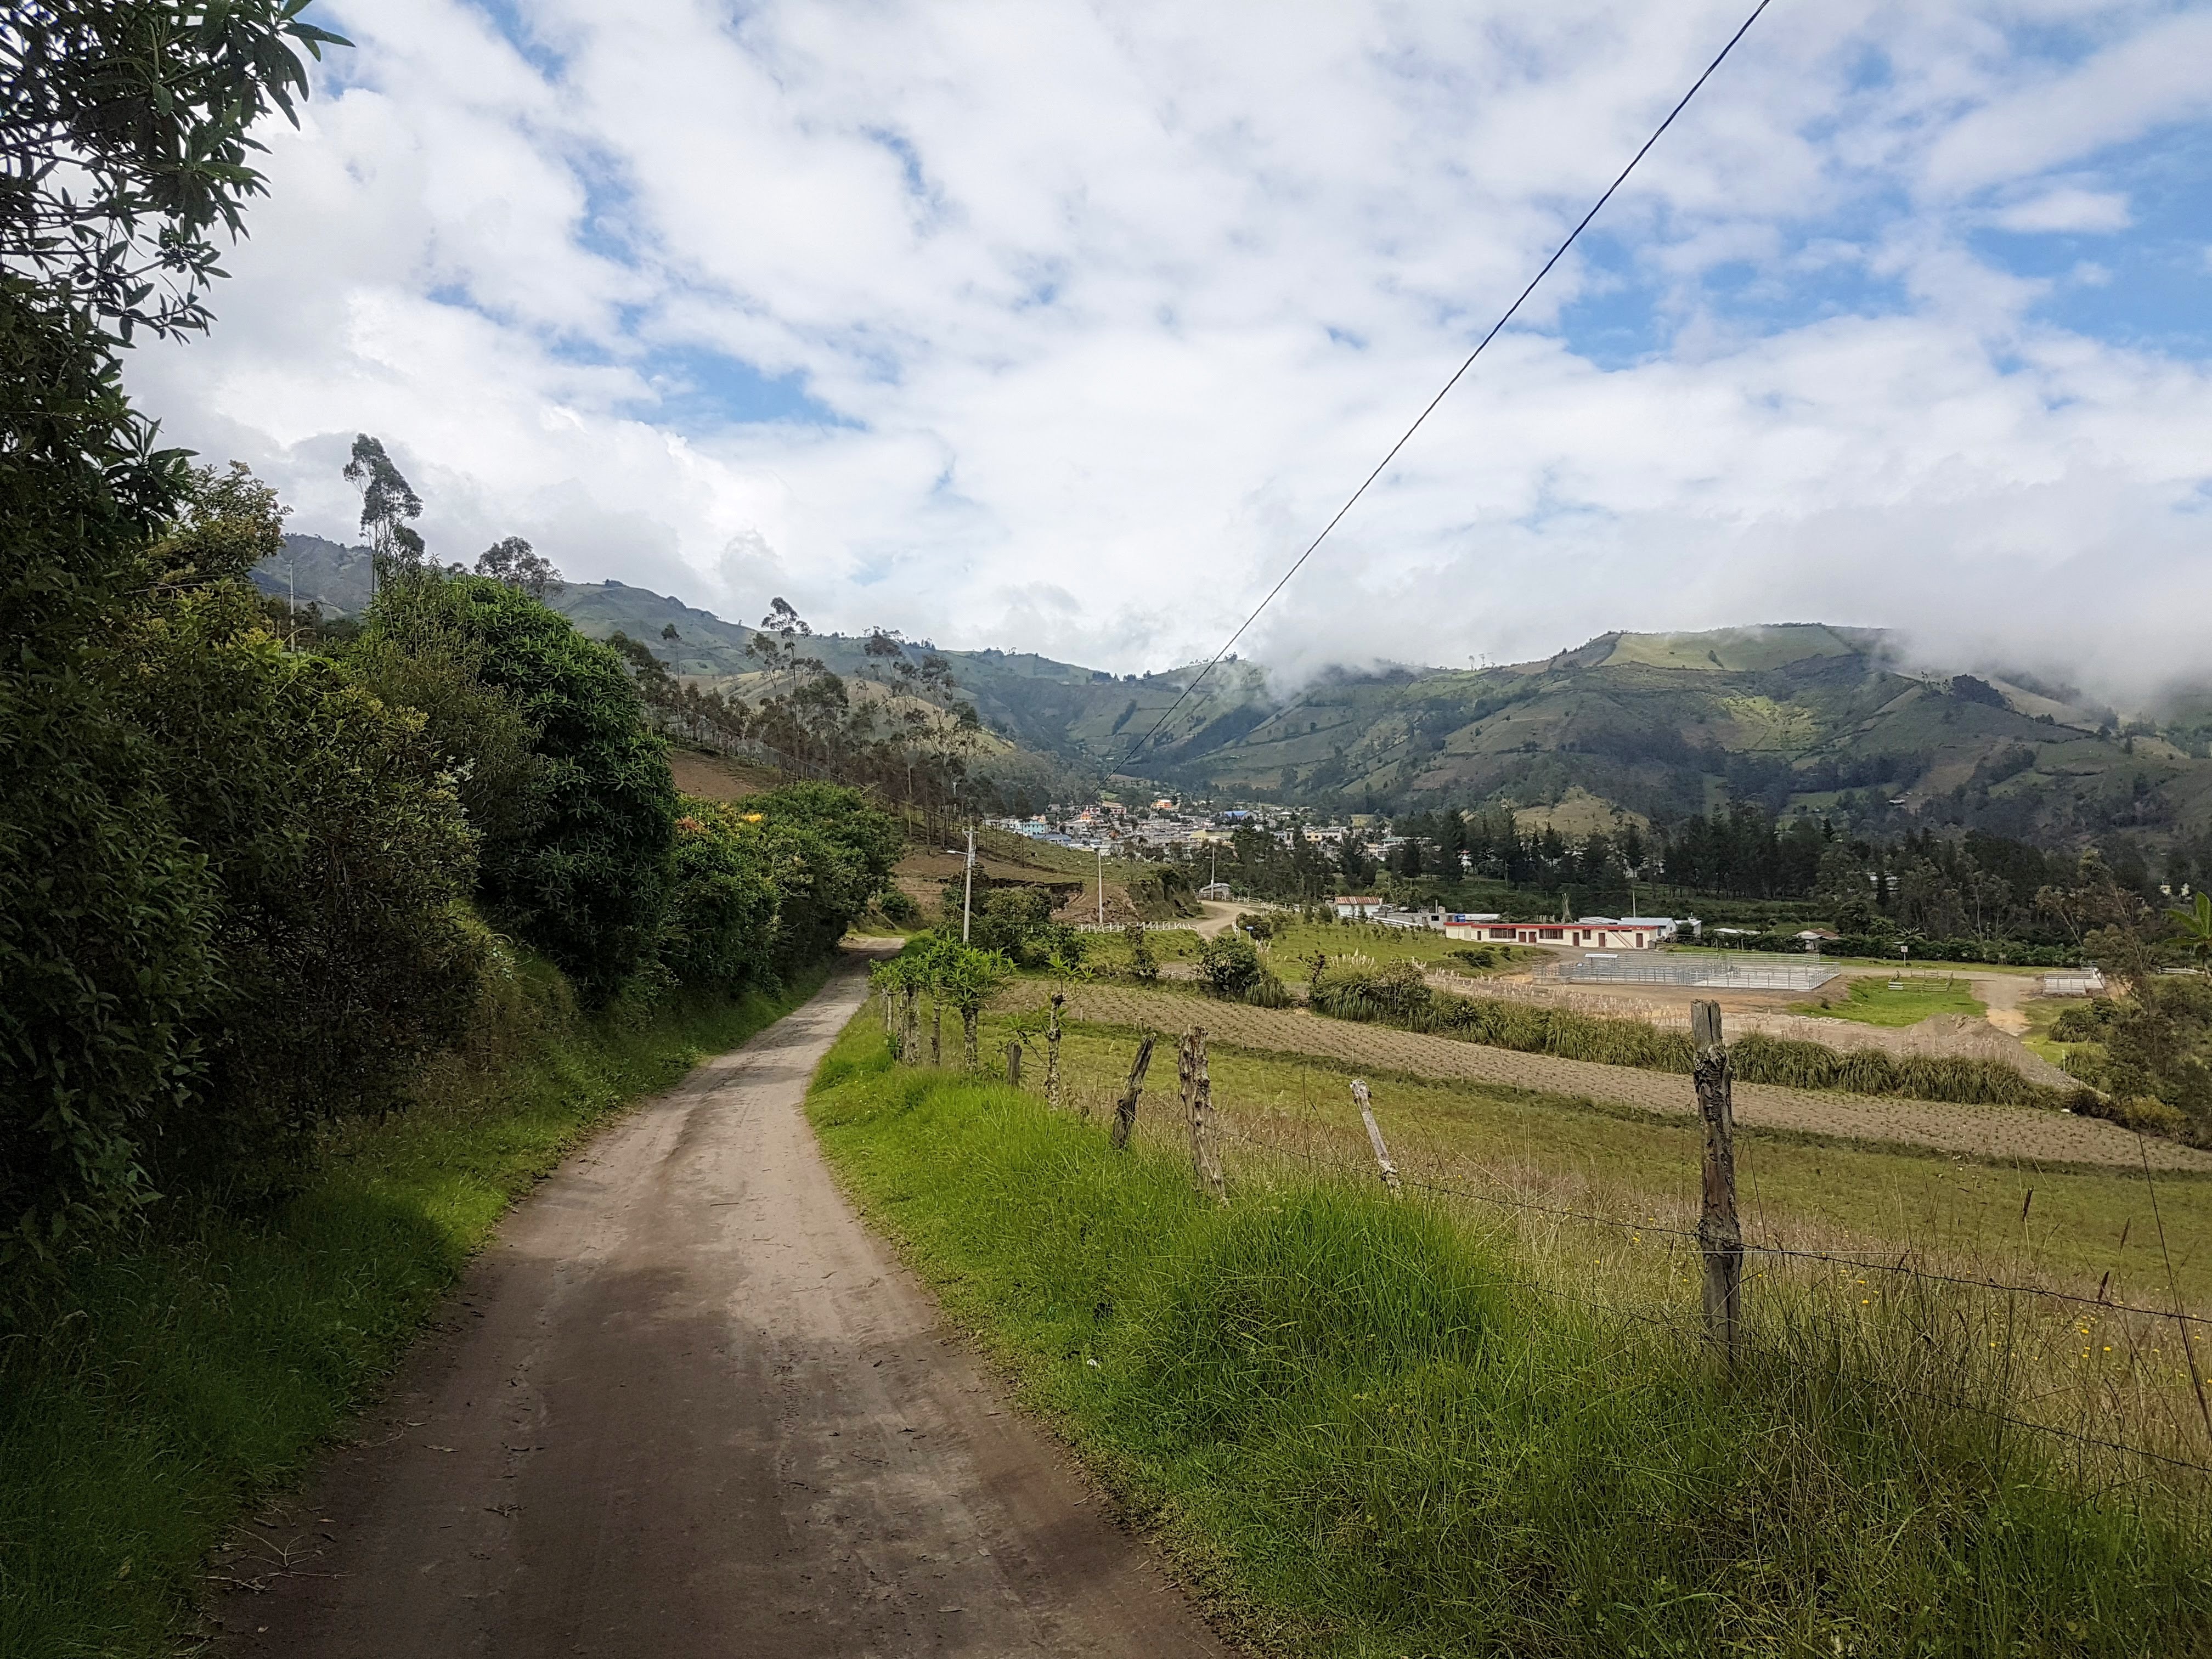
Before too long you’ll see a small town in the valley to your left, then a church in the distance also to your left. Keep heading in the direction of the church.
 The good news is you’ll keep descending here past the signs as per the 1st photo and for a while until you reach a concrete bridge as per the 2nd photo
Then, more good news, after the bridge you only have about 20-30 mins until you’ve reached your destination, Isinlivi. Ok, it is up hill the whole way but just think of the hot shower.
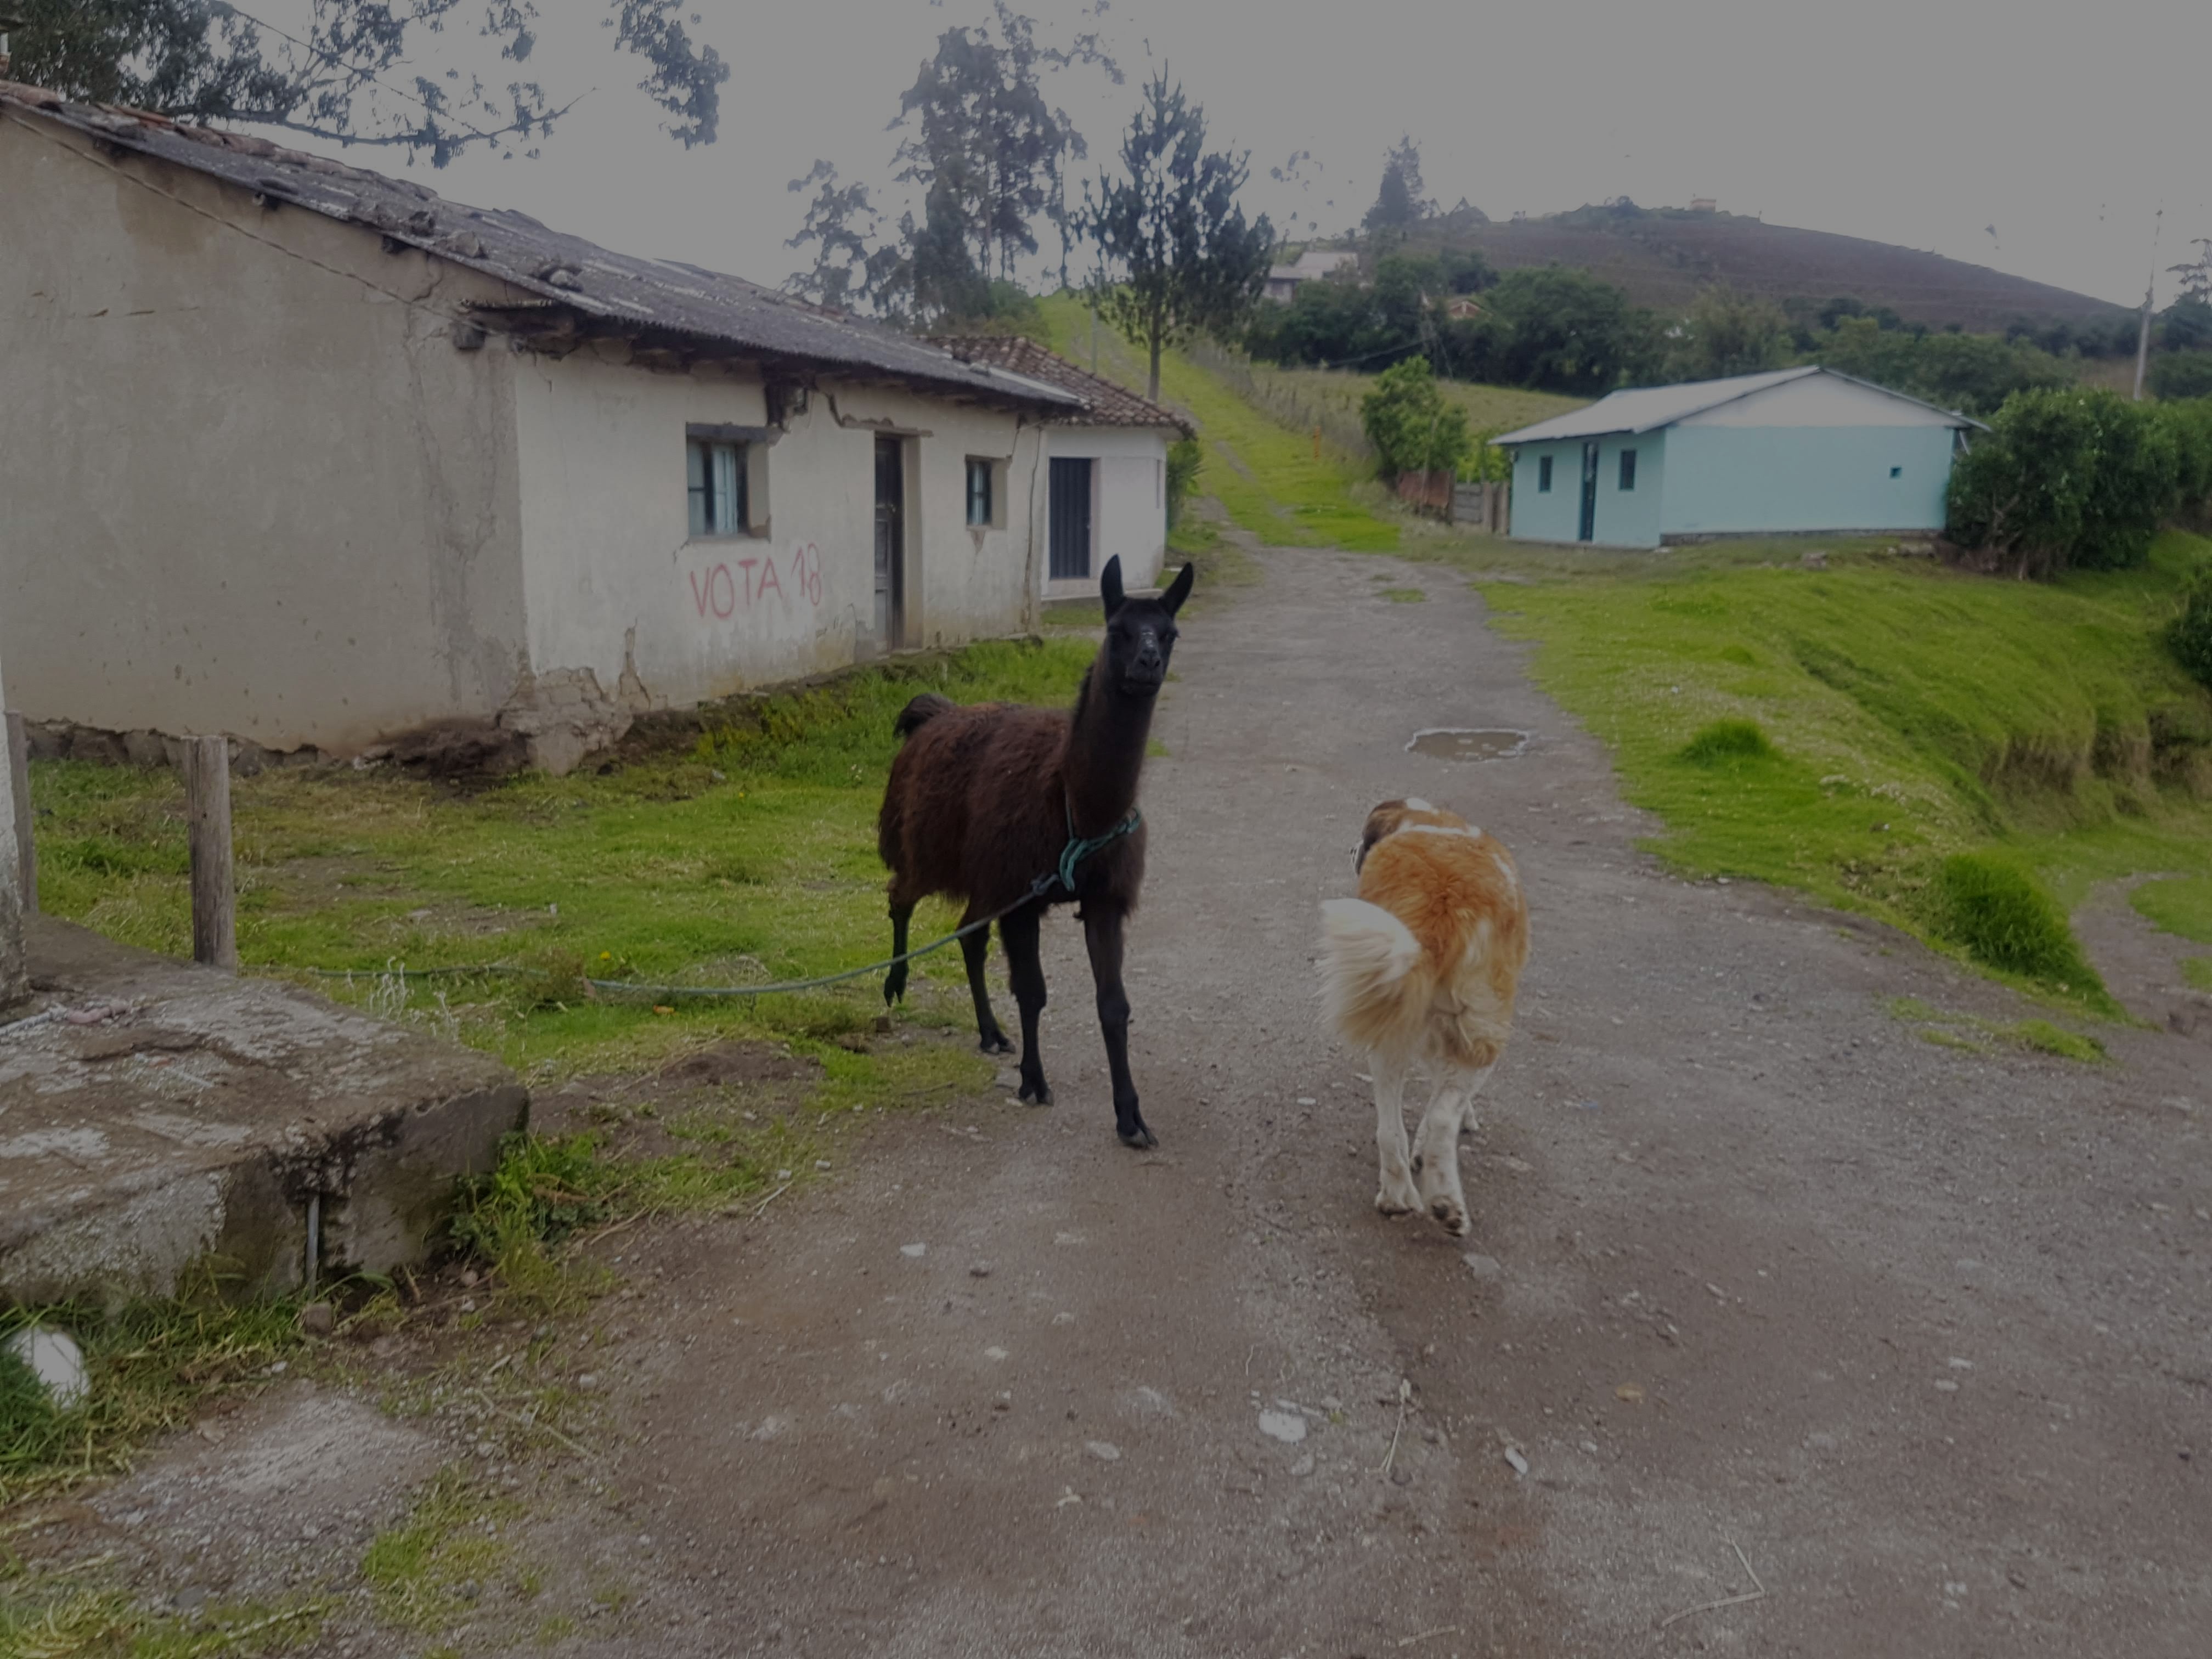
I stayed at Hostal Taita Cristobel. Yes, it was the first hostel I came to, but that wasn’t what swayed me. Instead it was its view and large front lawn with llamas that drew me in. It was $15 a night with dinner (chicken, mashed potatoes, salad and canned peaches) and a big breakfast. The water was hot, there were llamas on the big front lawn, the beds were cozy and there’s a convenience store onsite.
Isinlivi the town
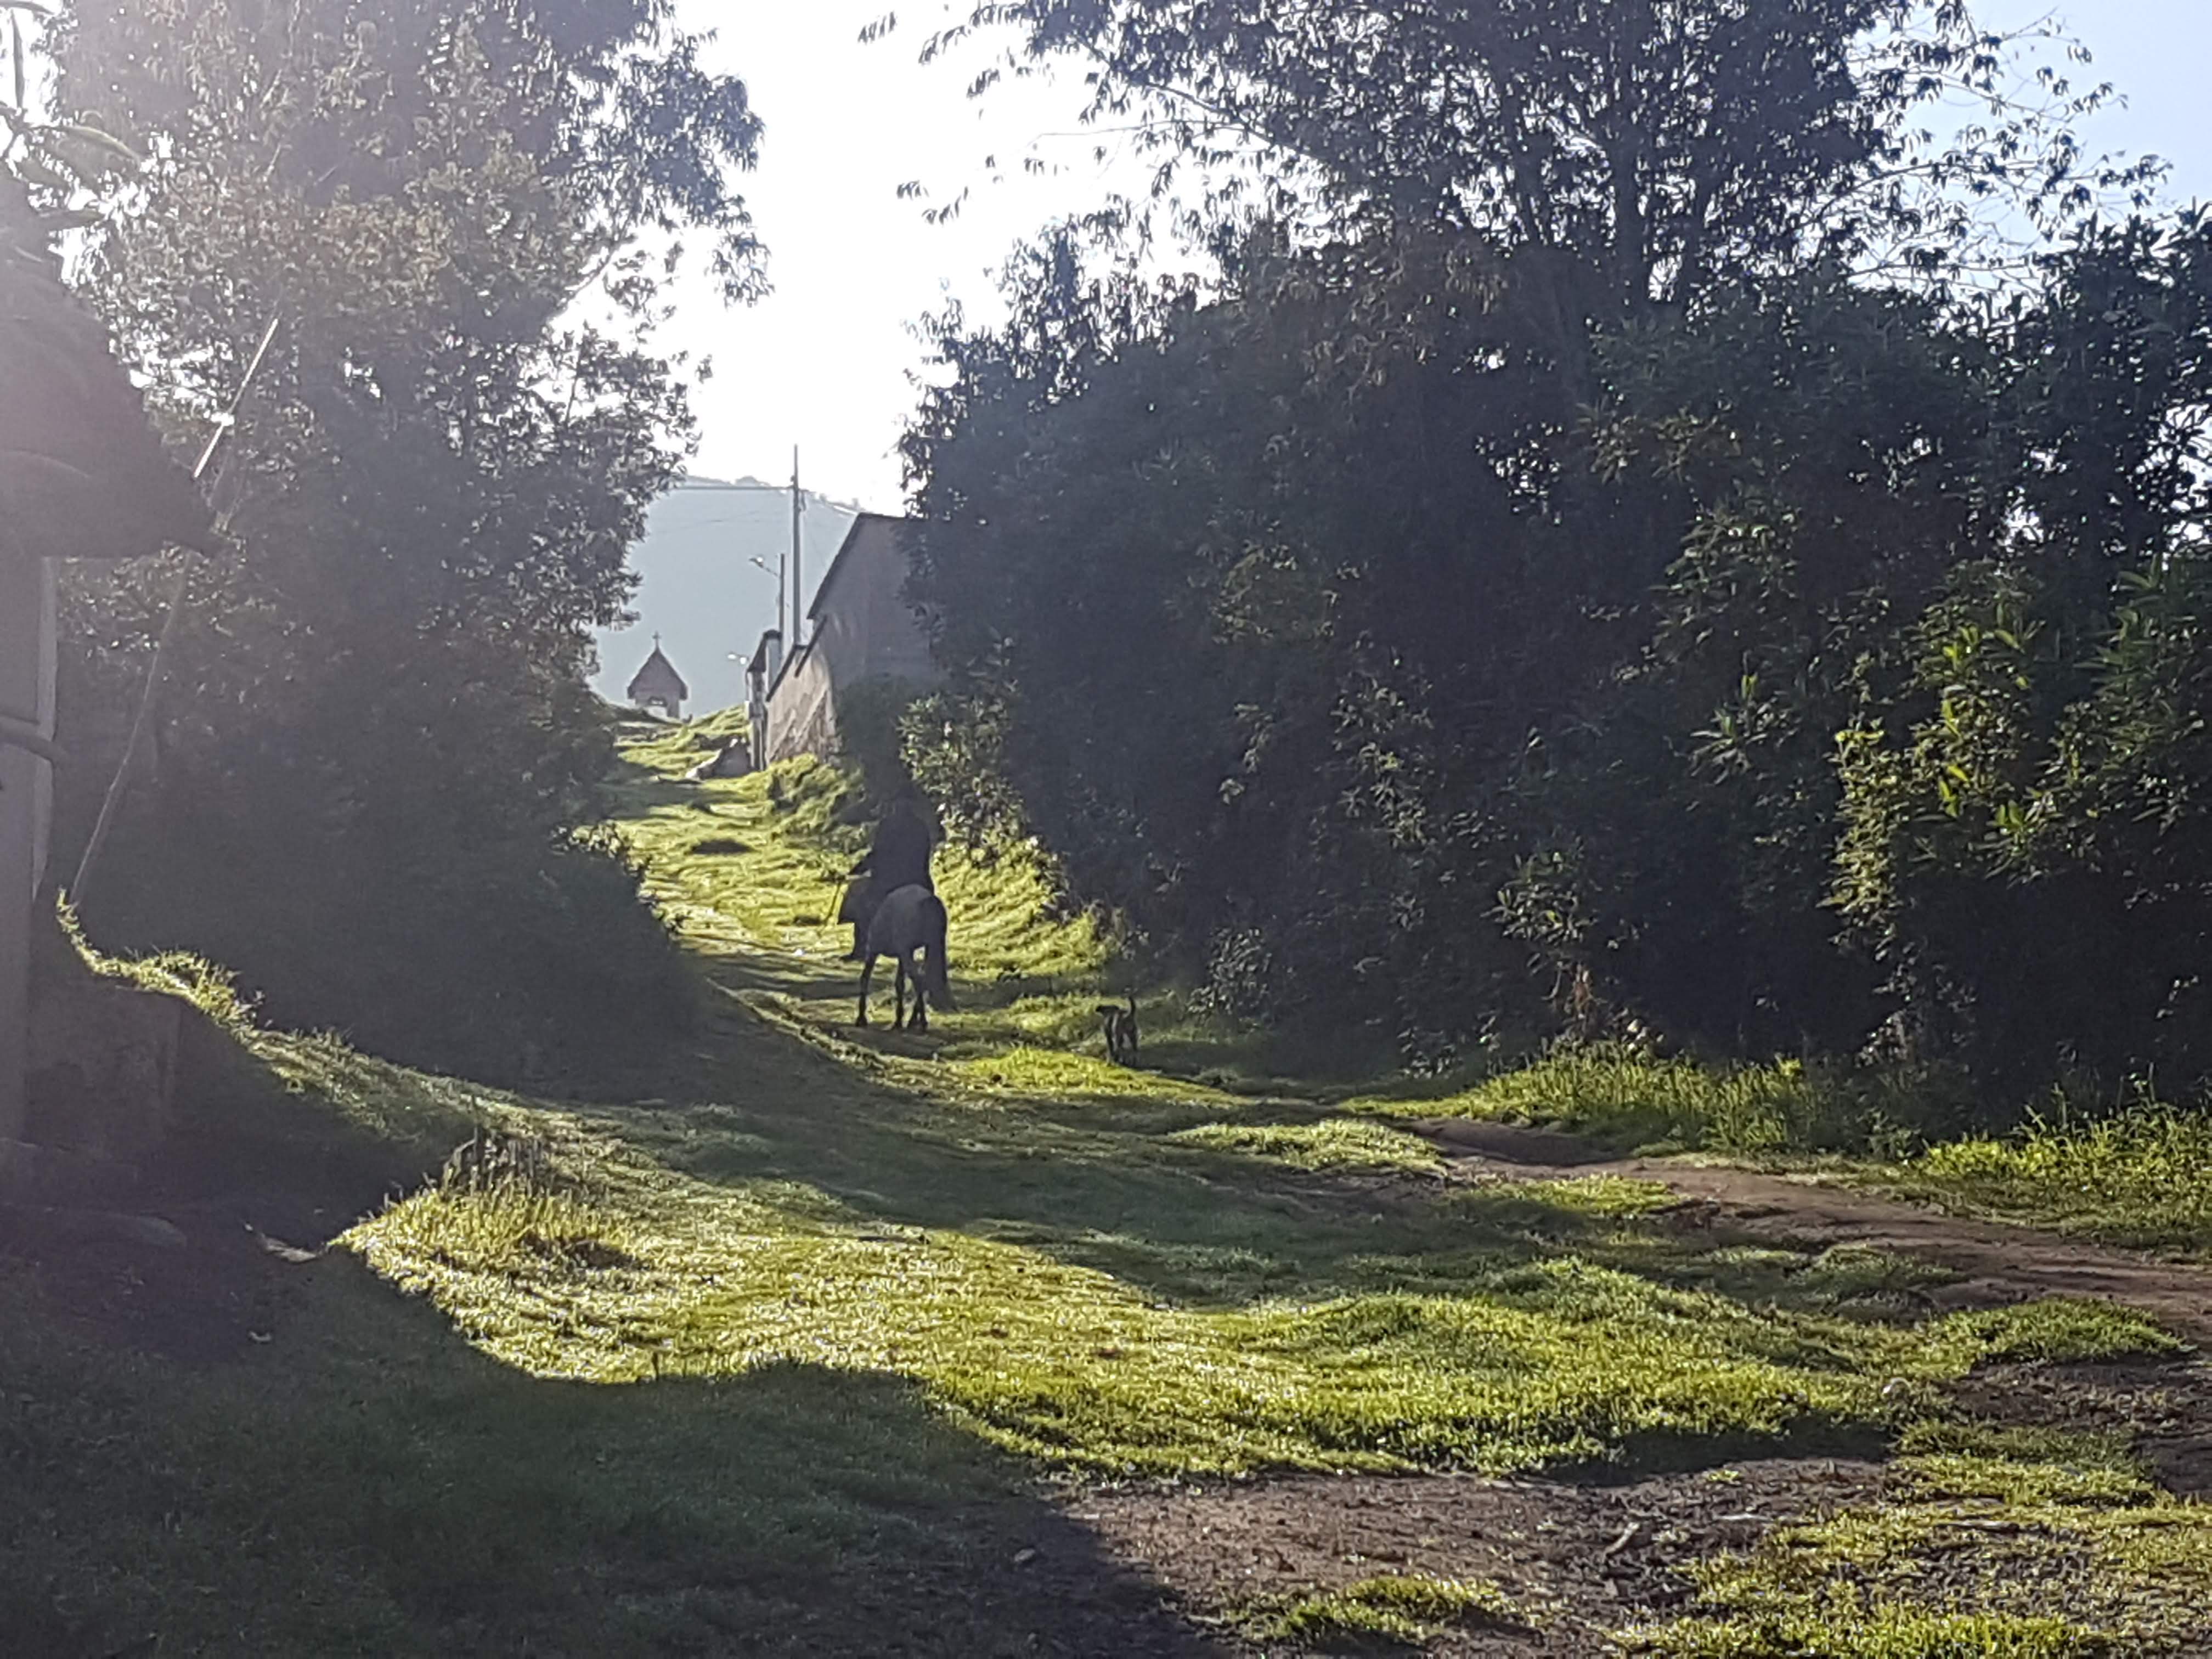
I went for a walk after I showered and was greeted by the local St. Bernard dog. He gave me some dog love and led me uphill to a grassy knoll. We went past a black llama that seemed intent on showing his dominance over the dog by chasing after him as far as his rope would allow him.
There’s a cross at the top of the hill and gorgeous views out over the valley. The fog rolled in around 2.30 pm with only spots of rain.

Reverse Quilotoa Loop, Insinlivi-Sigchos, Day Three
The fog that had rolled right up to the hostel the night before had lifted as I set off at 8 am with mostly a beautiful blue sky.
Hostal Taita Cristobal is on a corner. Make sure you leave via the shop that’s at the top of the hostel and you’ll be on the correct street. You’ll pass Hostal LluLlu Llama on your left.
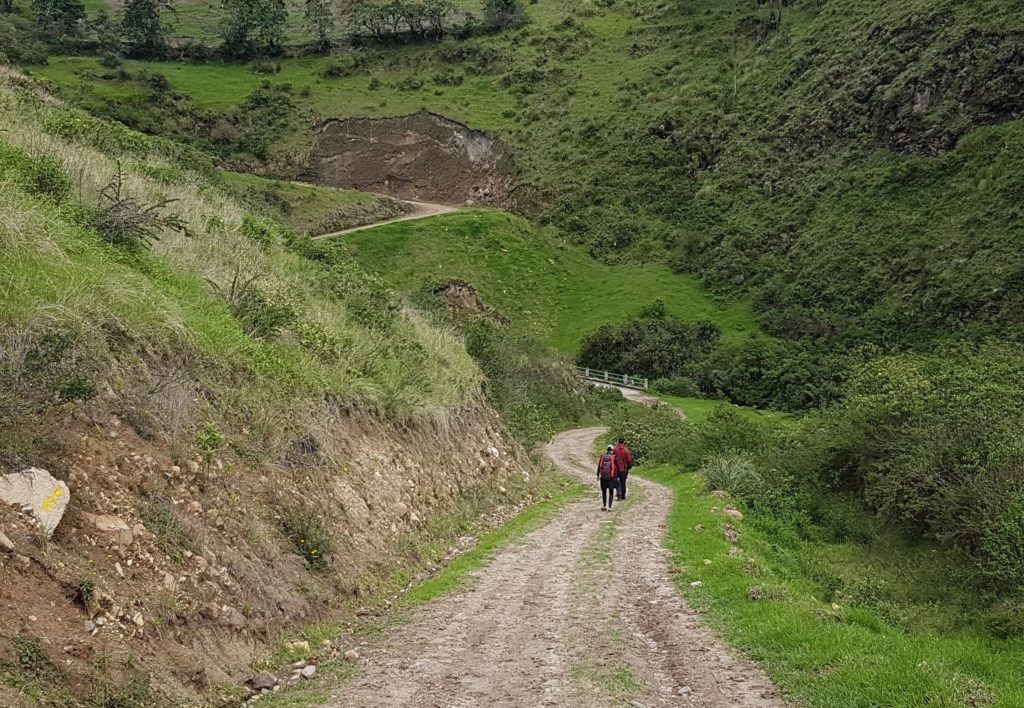
Keep going along this road until it diverges, either up the grassy hill or down to your right. Down to the right is the correct way to go (1st photo). You’ll pass the house on your left (2nd photo) and the 3rd photo is what the path should look like
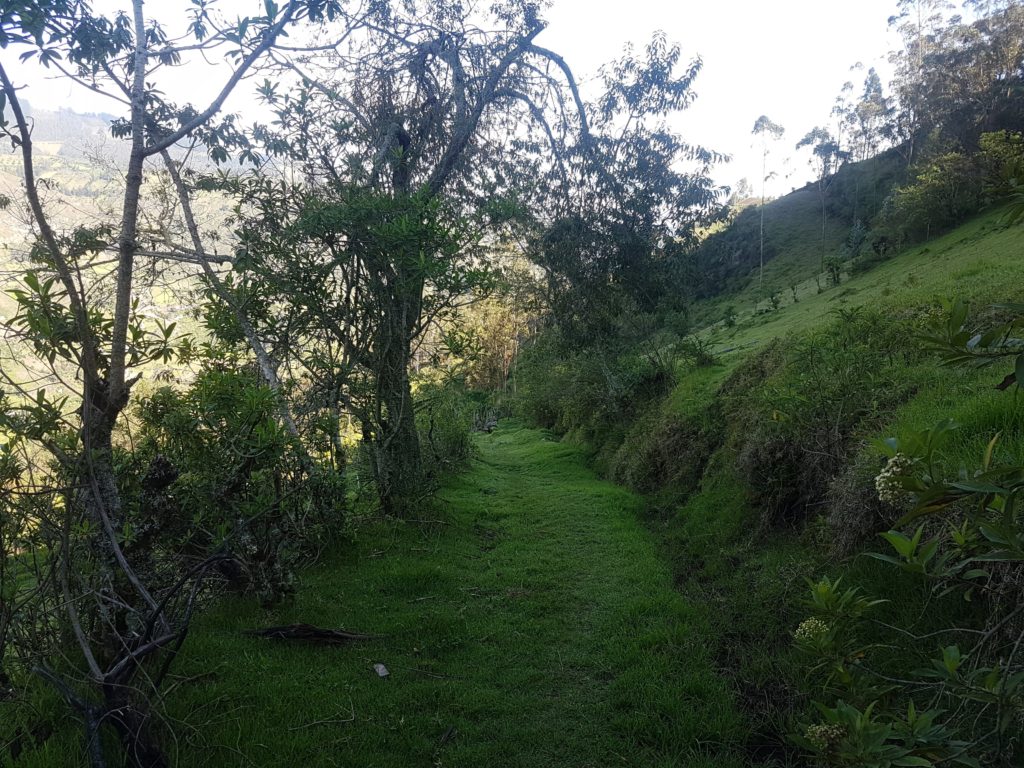
I loved this part of the trek, especially at the time of the morning when I passed through. The grass was still moist with dew and the lighting was speckled through the trees.
Next you’ll come to the junction as per the photo below. If you go to the left you’ll go to a lookout from a bridge. If you go straight ahead you’ll continue on the correct path. 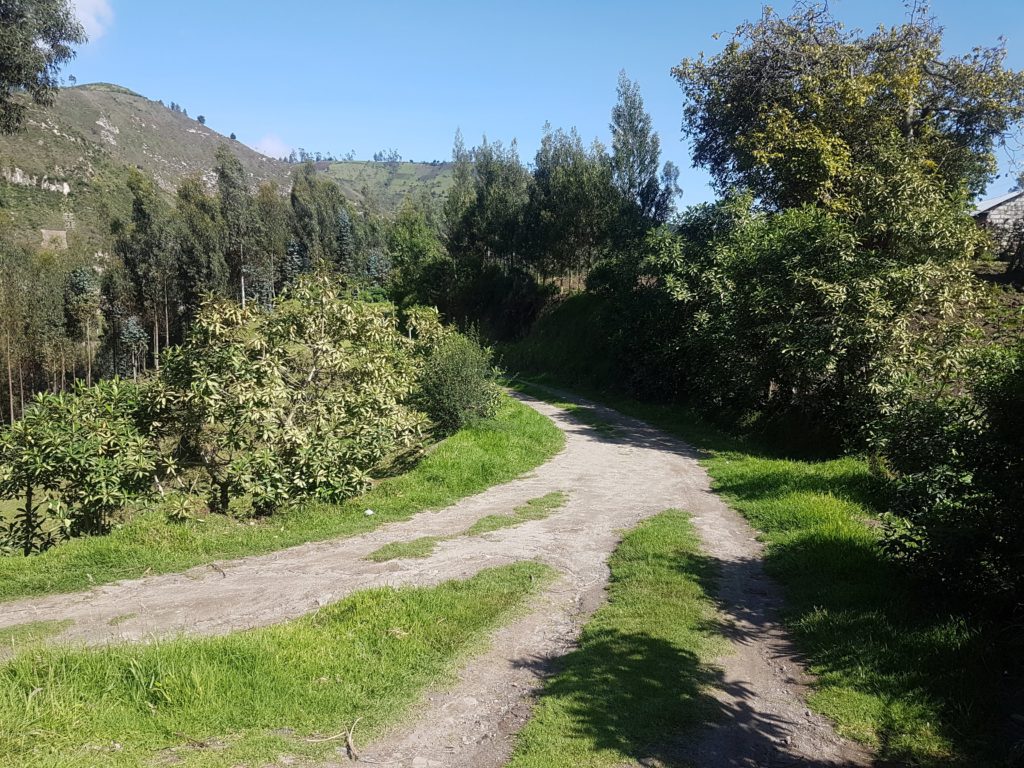
Keep going down this path, you’re heading towards the bridge as per the photo below,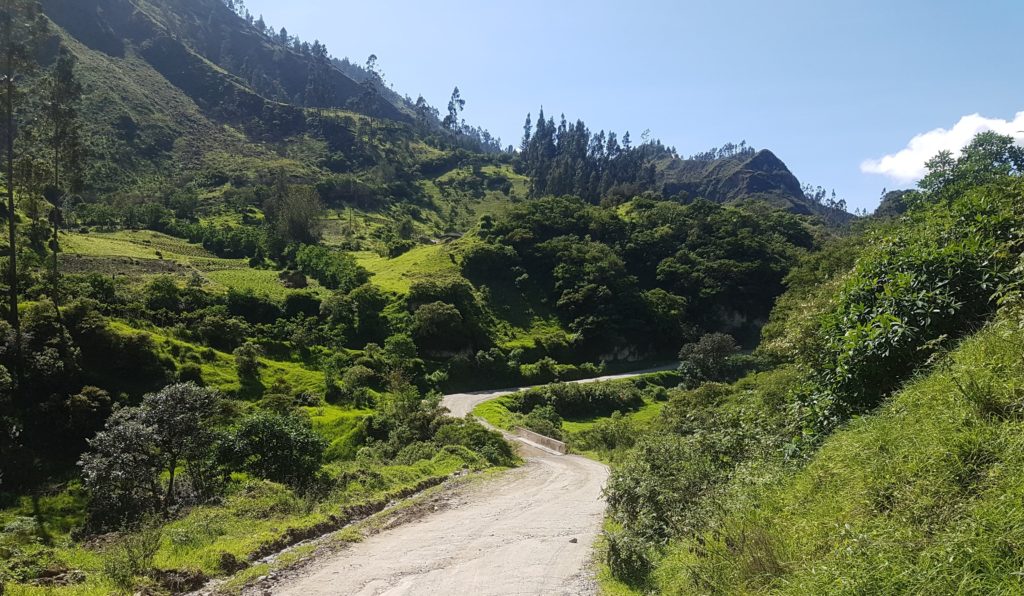
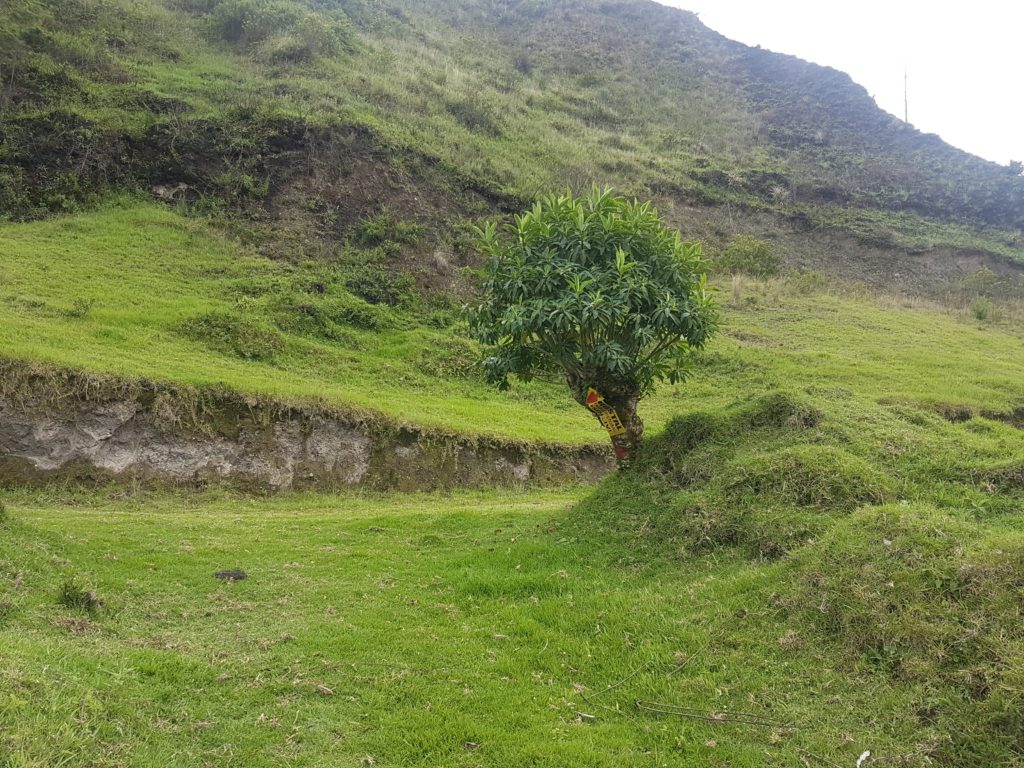
If you’re standing directly in front of this sign turn to your left so you looking back down the road. Then look to the opposite side of the road for a narrow, grassy trial that goes up fairly steeply. There is a rock with yellow marking but it’s pretty small (photo below). This is the path you need to take.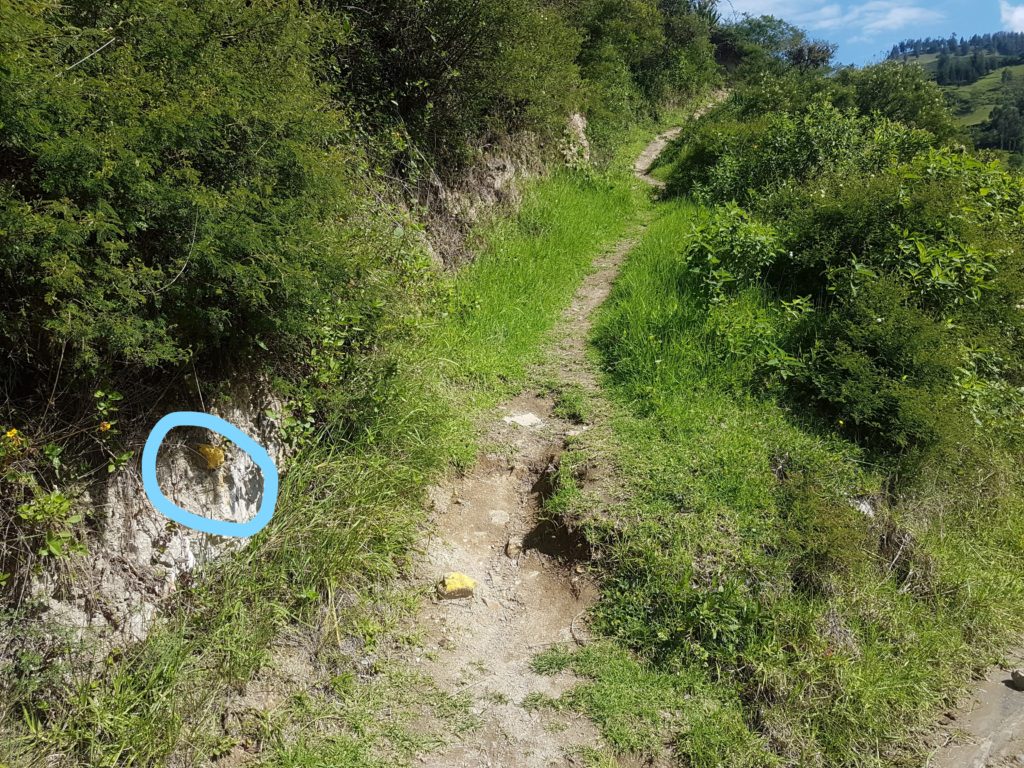
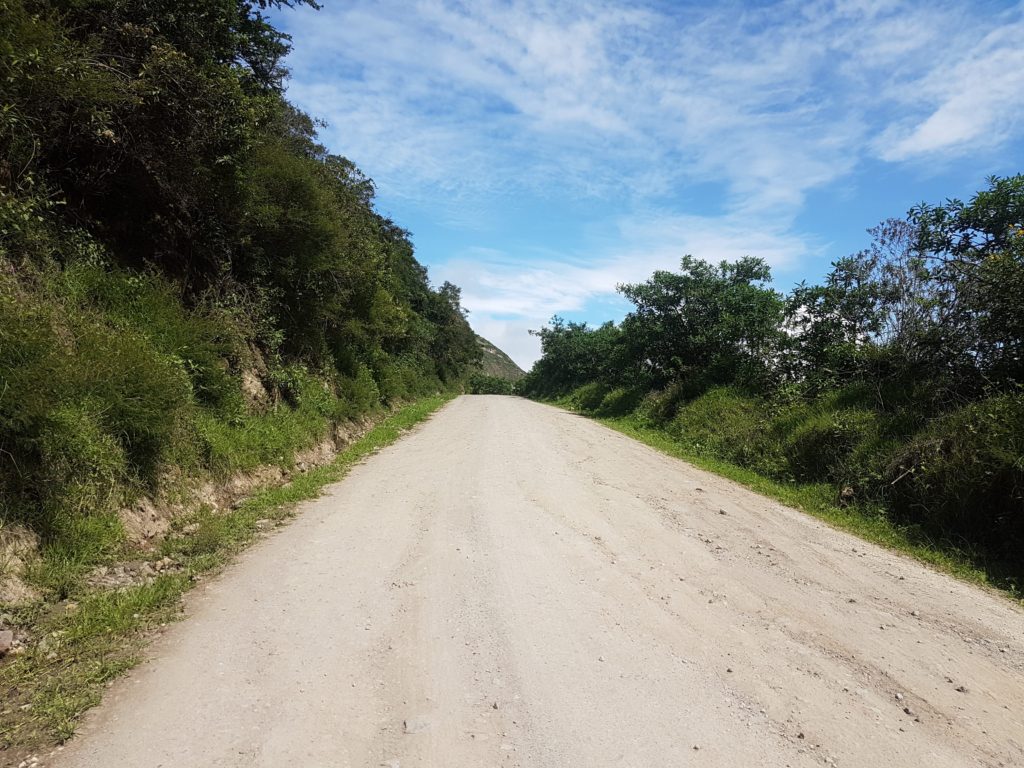 Keep going straight ahead on this dirt road (2nd photo above).
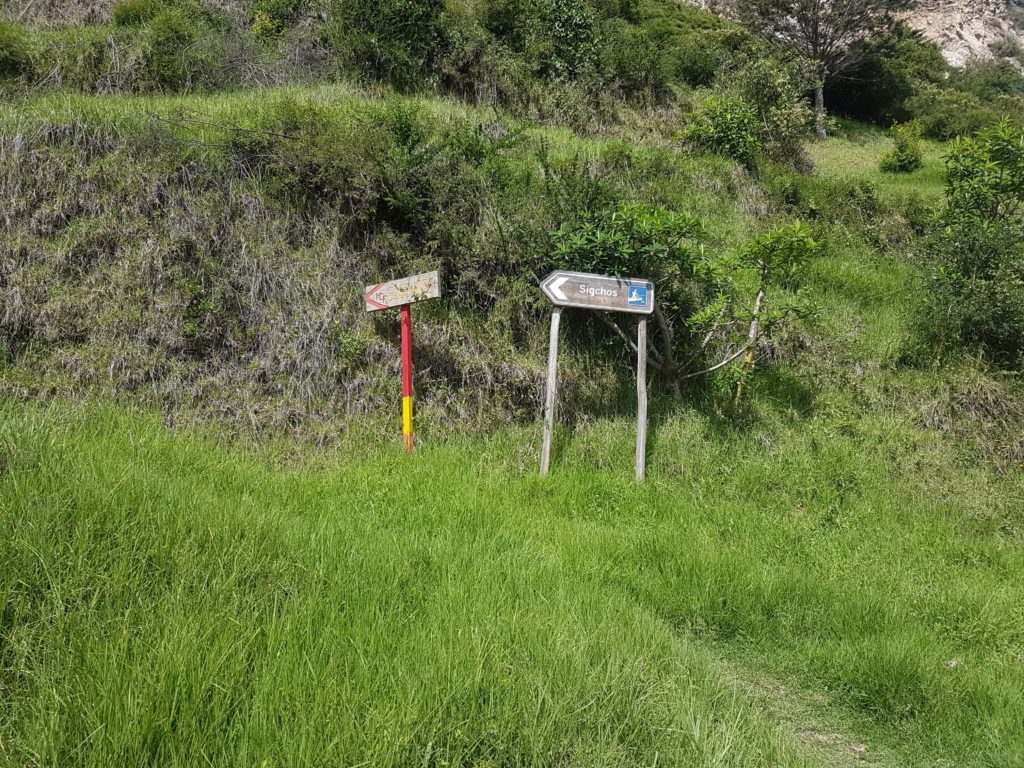

Leaving Sigchos Quito Bound
So you thought your climbing was over? Sorry, this town rises gradually from where you’ve come of the trek right up to the bus station. Unfortunately, the bus station is at the furthermost top, right corner of the town.
You’ll need to pass two town squares diagonally. On the second one you’ll see the big burnt orange and white church. Keep on the road that runs past the front of the church and in another 5-10 minutes you’ll see the bus station on your right.
Bus details
This section of the trek took me 3 hours, leaving at 8 am, I arrived at 11 am. I could have made a 11.40 am departure but I stopped for a coffee, toilet break and directions to the bus terminal. Instead I was on the 12:10 pm bus to Latacunga, which cost me $2.30 and took 3 hours.
Buses from Latacunga go very frequently to Quito and cost about $2. Just jump on the next one that’s available.
Climate
In December I went from thermals, beanie and scarf at 10 am in Quilotoa to a singlet top during the trek to Chugchilan. The night was particularly cold in Chugchilan but not as cold in Isinlivi. I was extremely lucky by not getting caught in rain at all, even though it’s the wet season.
Be prepared to change easily through out your day of walking.
What to Take
- as little as possible, at altitude any extra weight is weight you don’t want to feel weighing you down
- shoes with a grip on the soles, they don’t necessarily need to be proper trekking shoes
- thick plasters that are hard to remove to fight off potential blisters
- a pair of shorts or trousers to wear trekking and another pair to wear at night around the hostel and to sleep in as well, it’s only two nights
- a light weight moisture absorbing top for trekking and another t.shirt for night
- a warm hoodie or sweater/jersey to wear during the trek if you get cold and also for at night
- a lightweight rain/shower jacket
- sunscreen
- lip balm to protect you from the wind and sun
- enough cash as there aren’t any ATM’s and the hostel don’t take credit cards, $50 should cover the costs. This includes; two nights accommodation, two lunches, and 4 x bus rides. Throw in another $10-$15 for a few hot chocolates/beers or extra snacks
- you don’t need to bring soap or a towel, these are provided
- phone with Maps.Me and a good camera
- I had walking poles which I made use of but you can definitely get by without them
Doing it Solo
This was my first serious, overnight trek on my own and I absolutely loved the experience. I never felt uneasy or uncomfortable and certainly never threatened. Well except for the turkey.
The podcasts I’d downloaded for if I got bored never got listened to. Sometimes the only sounds I heard were the sounds of my own footsteps. And I’d stop every now and again just to hear the roaring silence. It was so special to be surrounded by calm that was only broken by the sounds of nature. Cows munching on grass, a horses neigh.
You’re not alone
There were the odd locals to say ‘halo’ to. And occasionally, trekkers coming the opposite way. And there’s always plenty of animals to stop and have a chat with. I’m happy to admit I pretty much spoke to every bigger sized animal I saw, horse, cow (one calf dressed in a raincoat), sheep, goats, pigs, turkey, ducks, llamas, cats and dogs.
My major concern was twisting an ankle. Being cognizant of it made me extra careful about where and how I placed my feet. This was especially the case when going downhill.
My advice, don’t think about it, just do it.
PDF Copy of these instructions
I’ve produced the instructions in this blog post along with the photos into a PDF file. If you would like a copy please get in touch by putting your email address into the box on the right and hit subscribe and I’ll send it straight off to you.

 Donna says
December 21, 2019 at 4:14 pmGreat read Jacqui! I love all the extra bits as well as the practical advice! You make the reading fun and real! You are very brave to be out there by yourself!